

A sensory sand station works best when it’s built around three fixed elements: a contained play surface, a within-reach tool zone, and a clear cleanup path — in that order. Skip any one of these and you end up with sand on the floor, kids fighting over molds, or a fifteen-minute cleanup that eats into the next lesson. The layout matters more than the sand itself, though the two are connected — sand that dries out or crumbles creates mess no layout can fix.
Start With the Footprint, Not the Furniture
Most teachers make this mistake: they buy a sand table first, then figure out where it fits. Flip that. Measure your available floor space and work backward.
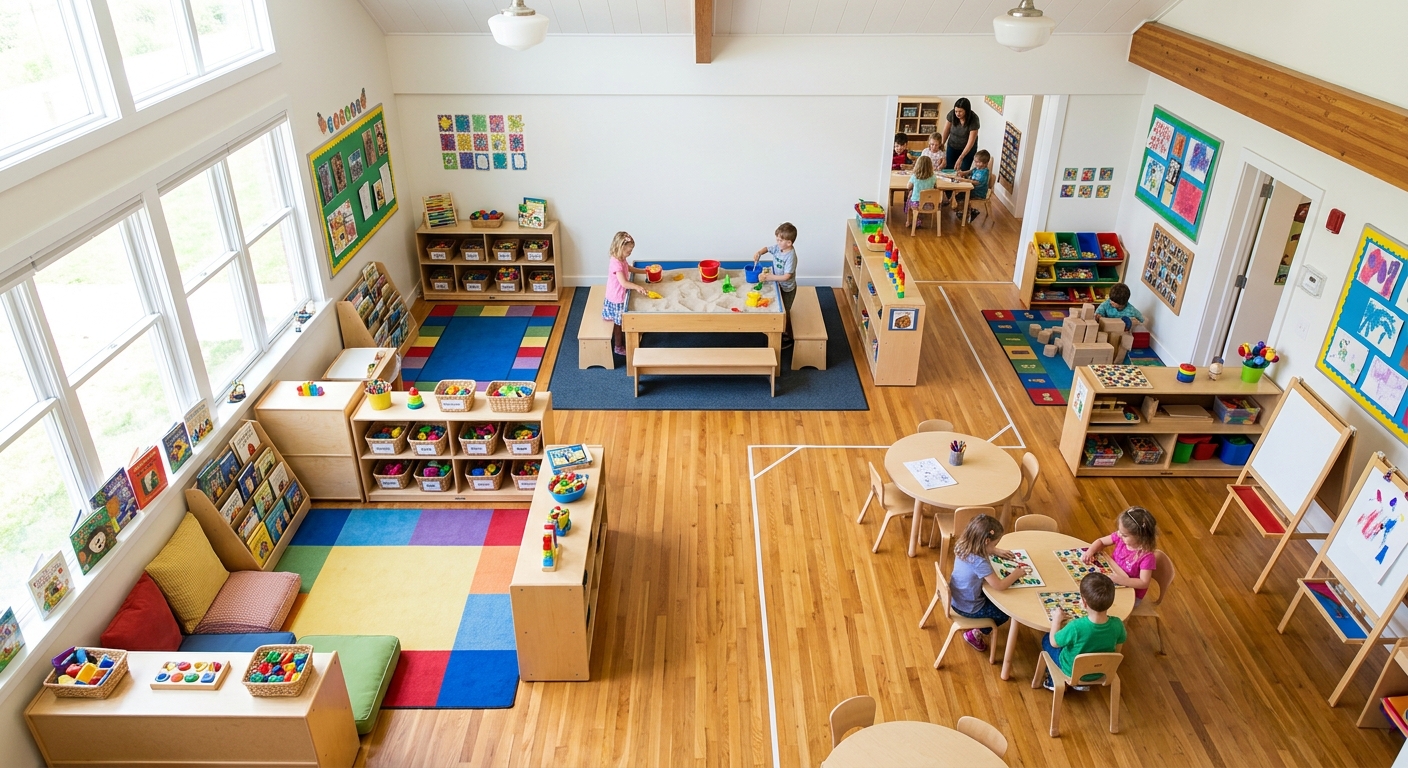
A single sand station for 4-6 children needs roughly a 4ft x 4ft footprint — enough for the table, a tray underneath, and elbow room on at least two sides. Anything tighter and kids start bumping arms, which is when sand ends up on the floor instead of the tray.
The One-Meter Rule
Leave at least one meter of clear walking space around the station’s perimeter. This isn’t just about comfort — it’s about preventing foot traffic from kicking spilled grains further across the room. Classrooms that skip this rule spend more time sweeping than teaching.
Containment Comes Before Creativity
No layout survives without a containment strategy. A raised-edge tray or table with a lip of at least 2 inches keeps sand from migrating onto the floor during normal play — jumping and dumping motions especially.
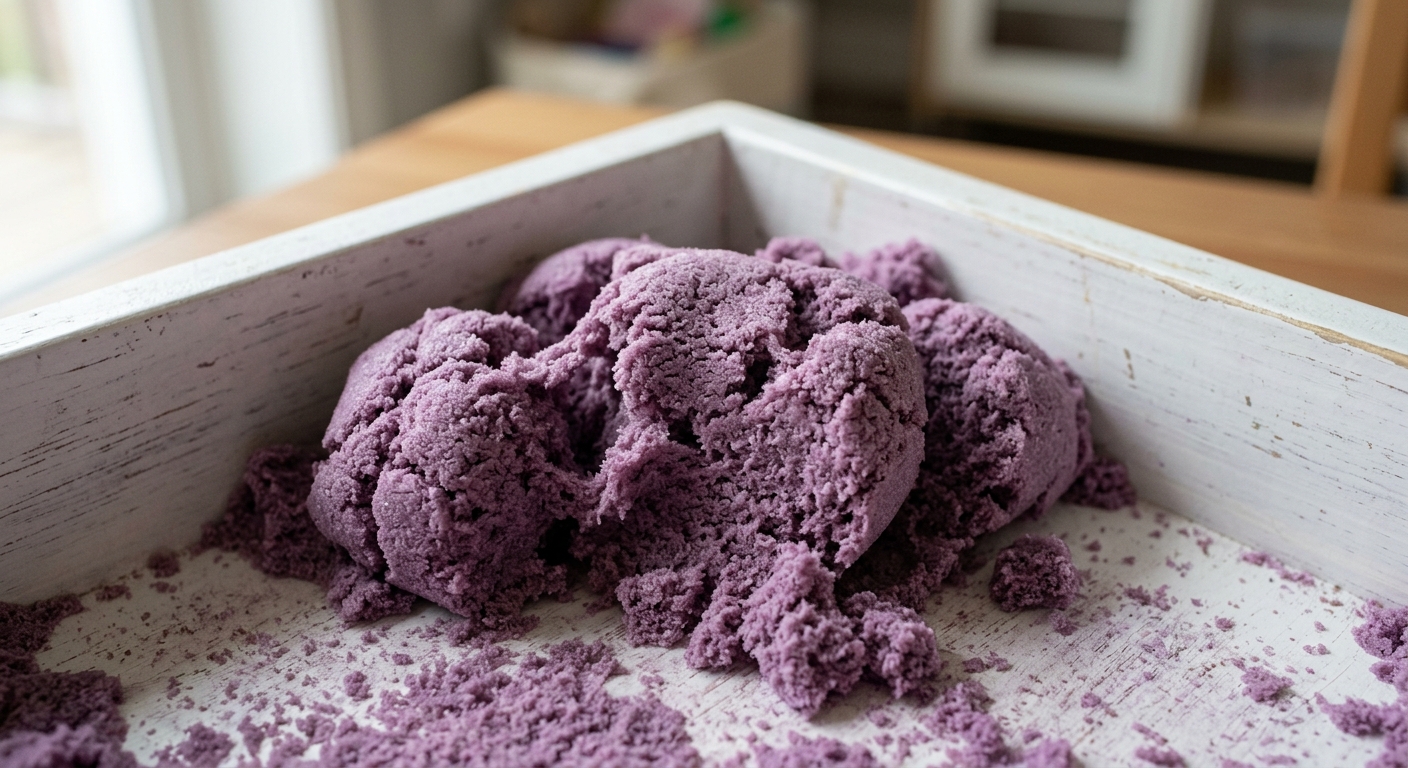
For classrooms using moldable or hydrophobic sand, containment matters even more because the sand’s cohesive properties mean it clumps and travels in chunks rather than scattering as fine dust. That’s actually a benefit — clumped sand is easier to spot and scoop back than loose silica sand that vanishes into carpet fibers.
For instance, a Montessori classroom in a shared multipurpose room switched from an open floor mat to a table with a 3-inch raised lip and reported a noticeable drop in daily sweeping time — simply because the sand had a physical boundary to bounce off instead of scattering.
Tool Zone: Reachable, Not Open Season
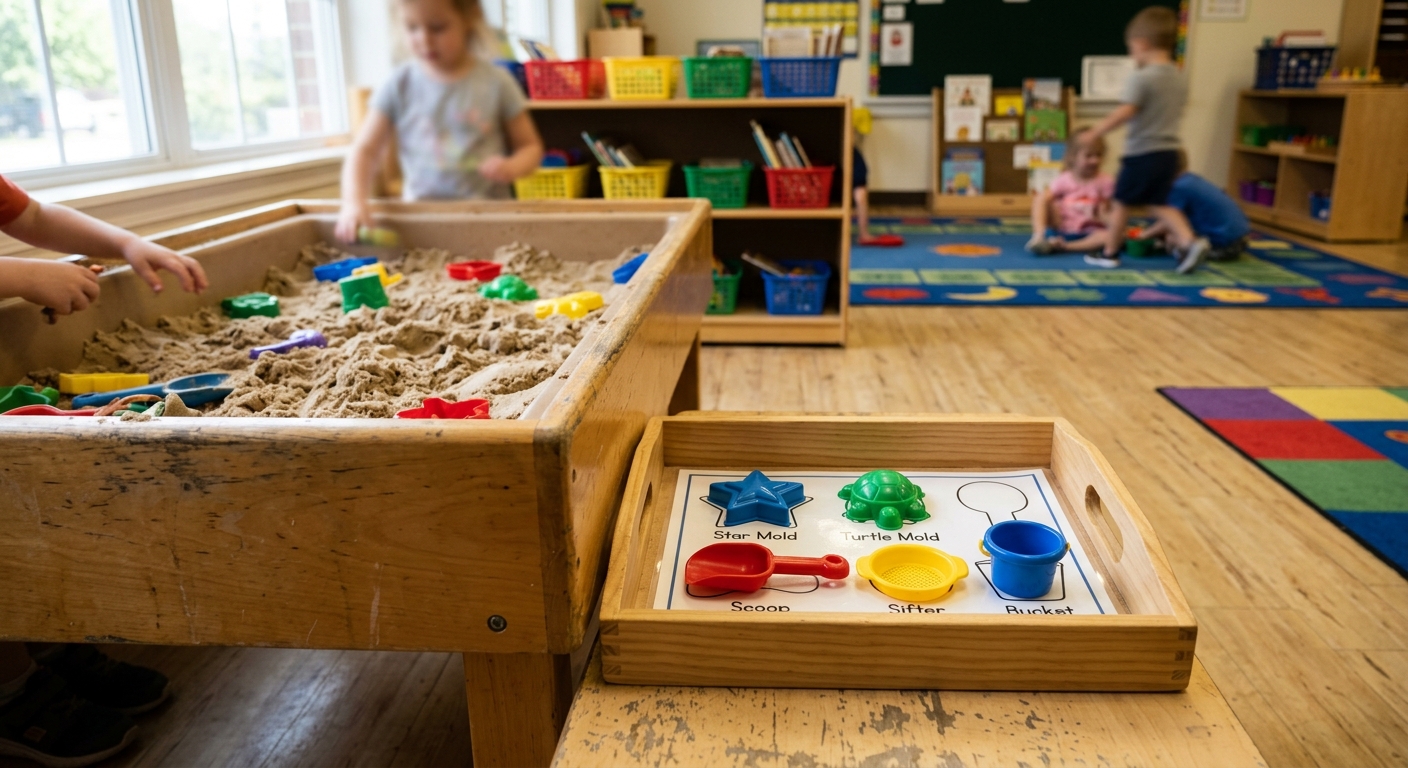
Molds, scoops, rollers, and shape cutters need a home that’s visible but not a free-for-all bin. Open bins encourage kids to grab everything at once, which leads to overcrowding at the table and tools left scattered on the floor.
Try a Rotating Tray System
Set out 3-4 tools per session on a small tray next to the station, and rotate the selection weekly. This keeps novelty high without overwhelming the play surface. It also gives teachers a natural way to introduce new sensory sand activities without buying new equipment constantly.
Label the tray’s home spot with a picture or outline — a simple trick borrowed from Montessori shelf organization — so tools return to the same place every time.
Cleanup Zone: The Part Everyone Forgets
Here’s the truth: cleanup speed determines whether teachers actually use the sand station regularly. If cleanup takes ten minutes, it gets skipped on busy days. If it takes ninety seconds, it becomes a daily fixture.
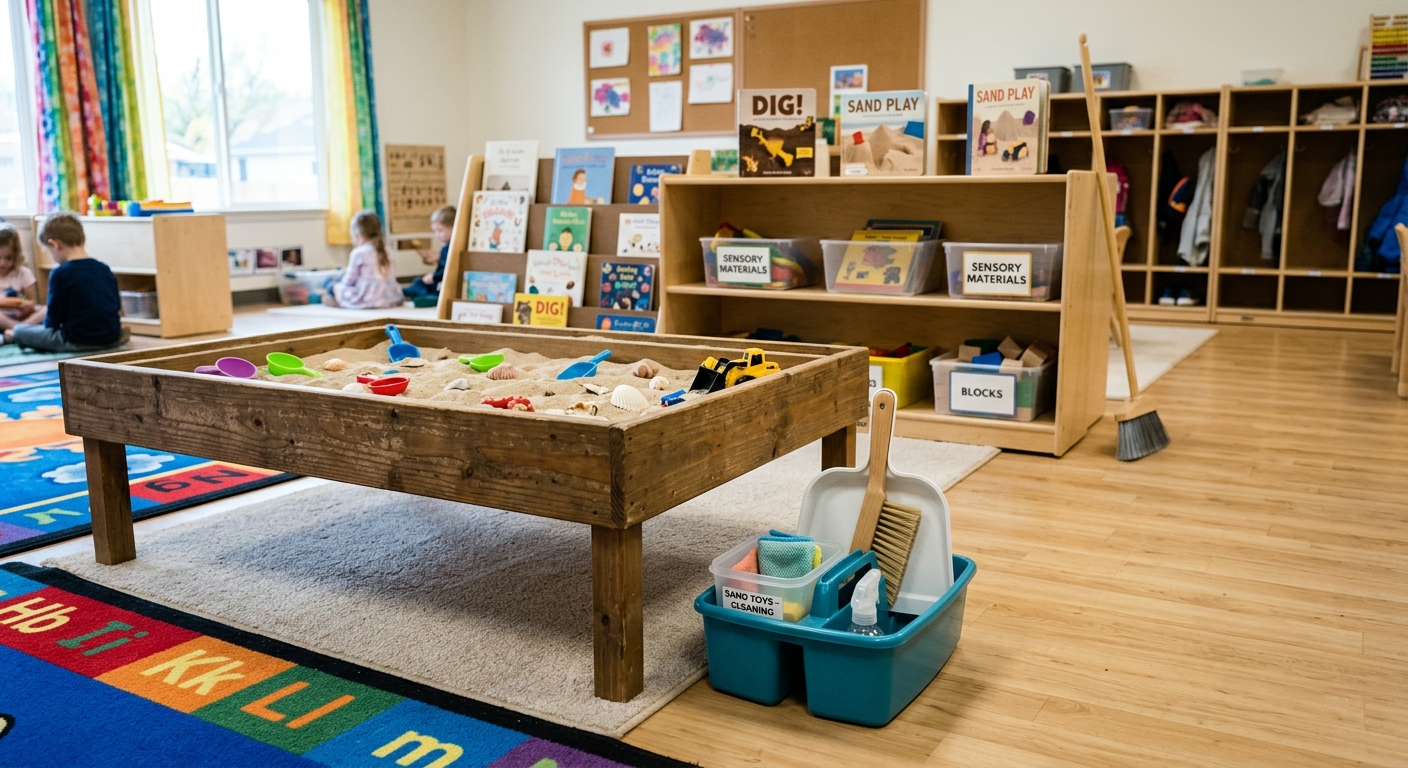
Place a small brush, dustpan, and a labeled spillage tray within arm’s reach of the table — not across the room in a supply closet. Some classrooms mount a small hook on the table leg itself for the brush, so it’s always there.
A dry storage container for leftover sand should sit at this station too. Sand exposed to open air too long can dry out or pick up debris — worth pairing your layout with good habits from troubleshooting sticky or crumbly sand so kids always play with sand in good condition.
Group Size Changes Everything
A layout built for two children looks nothing like one built for eight. Scale matters, and getting it wrong is the most common planning error.
Small Groups (2-4 kids)
A single compact table works fine. Focus on depth of activity — more molds, more time per child, richer sensory exploration.
Larger Groups (5-8 kids)
Split into two stations rather than cramming everyone around one table. Two smaller stations with fewer tools each actually produce calmer play than one crowded table with everything available. Rotate groups every 10-15 minutes if space is limited.
Flooring and Surface Considerations
Carpet under a sand station is a long-term headache — grains work into fibers and are nearly impossible to fully remove. Hard flooring with a washable mat underneath is the more practical choice for any preschool sand corner.
If carpet is unavoidable, a large vinyl splash mat (the kind used under indoor sandboxes or craft tables) creates a boundary that’s easy to shake out or wipe down at the end of the day.
This is a smaller detail, but it’s the difference between a sand station that lasts a school year and one that gets quietly discontinued after a rough week.
Building Learning Objectives Into the Layout
A sand station isn’t just a mess-containment exercise — the physical layout can support specific learning goals. Placing measuring cups and scales nearby turns free play into an early math activity. Adding small figurines or number cards nearby supports storytelling and counting.
Rotate the tool selection to match a weekly theme: shape cutters for geometry week, scoops and cups for volume and measurement week. The station stays the same; the learning objective shifts.
Teachers exploring more structured ideas can look at how magic sand can be used in science experiments for activity inspiration that pairs naturally with a fixed station layout.
Safety and Supervision Sightlines
Position the station where a teacher can see it from at least two other areas of the room — not tucked in a corner behind a shelf. Sensory stations that aren’t easily supervised are more likely to have safety issues, from tool misuse to a child mouthing sand during unsupervised moments.
Manufacturer-reported non-toxicity claims for moldable sand vary by product, so always check documentation and follow age guidance rather than assuming universal safety. A visible station also makes it easier for staff to intervene early if sand ends up somewhere it shouldn’t — like near shared classroom materials or other children’s workspaces.