

Five sand-based sculpting activities that consistently work in art and craft workshops are: relief carving panels, layered sand jars, freestanding miniature sculptures, textured wall tiles, and collaborative sand murals. Each one leans on a different property of moldable sand — its cohesion, its color layering potential, or its ability to hold fine detail — so facilitators can match the activity to the skill level and time available in the room. Unlike wet clay or plaster, hydrophobic moldable sand doesn’t need curing time or drying supervision, which changes how you can structure a session from start to finish.
Why Moldable Sand Works Differently Than Clay or Plaster in a Workshop Setting
Most facilitators default to clay because that’s what they know. But clay has a drying clock ticking the moment it leaves the bag, and plaster sets hard within minutes, no take-backs. Moldable sand doesn’t play by those rules.
Because the material stays workable indefinitely under normal room conditions, participants can rework a sculpture ten times in one session without the material crumbling or hardening on them. That’s a real advantage for beginners who need to undo mistakes without starting from scratch. The underlying reason is the hydrophobic coating on the sand grains, which is explained in detail in what is in magic sand and why it behaves so uniquely.
What This Means for Session Planning
You can run a 90-minute workshop without worrying about material drying out mid-session, and leftover sand can go back into storage for the next class rather than being wasted like unused plaster mix.
Activity 1: Relief Carving Panels
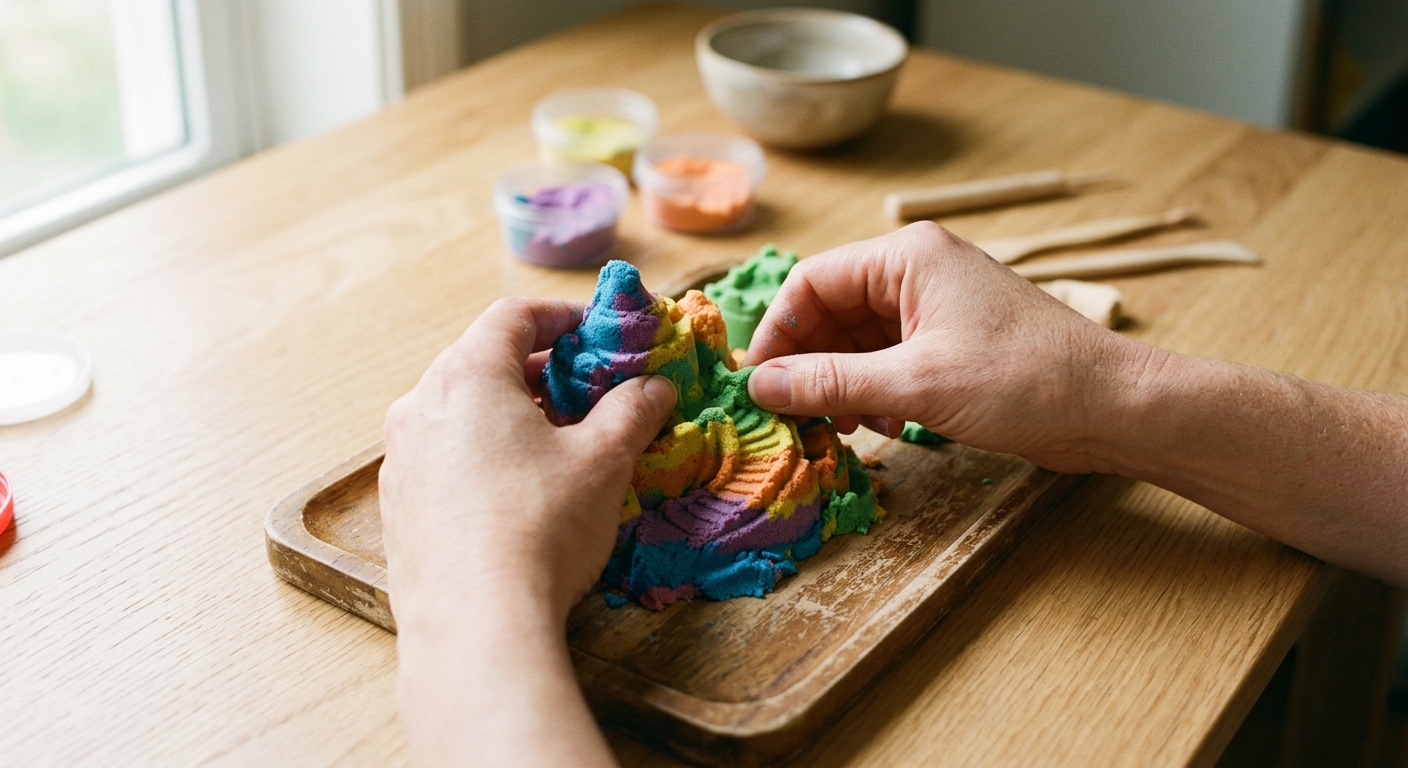
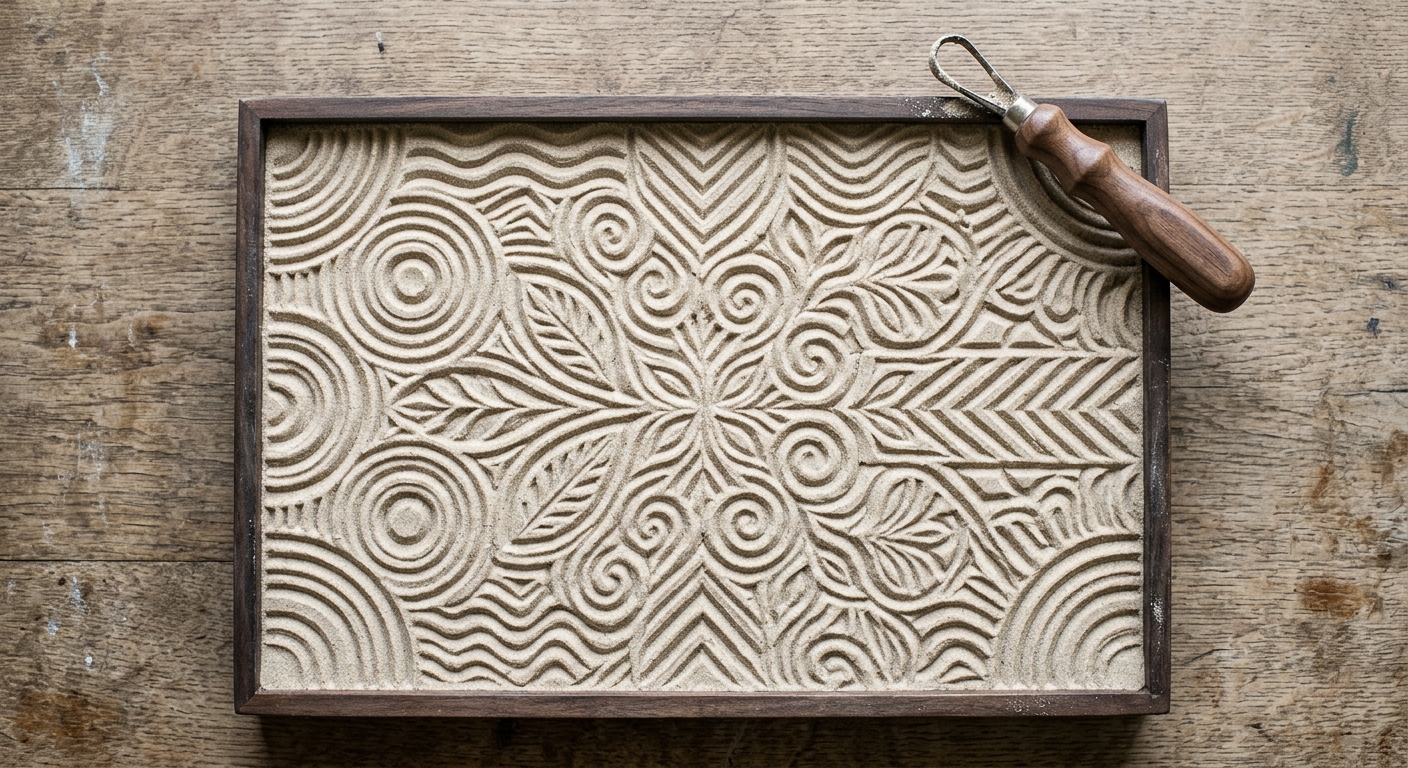
Relief carving is the easiest entry point for groups who’ve never sculpted before. Participants press a flat layer of sand into a shallow tray, then carve into it with wooden craft sticks or dull dinner knives to create raised and recessed patterns — think of it like a sand version of a linocut print.
The key technical detail here is compaction. If the sand isn’t pressed firmly enough before carving, fine lines will crumble at the edges instead of holding a crisp outline. A good rule for facilitators: have participants press the sand with the flat of their palm for a full 10 seconds before any carving begins.
Example: A Weekend Art Studio
A community art studio running a parent-child weekend class used this activity as an icebreaker before moving into freestanding sculpture. The low failure rate — almost nobody’s carving collapsed — kept younger participants engaged for the full session instead of losing patience early.
Activity 2: Layered Sand Jars
This is the activity that photographs best and requires the least cleanup — a good combination for workshops with limited table space or short time slots. Participants pour different colored sands into a clear jar in alternating layers, then use a thin skewer to drag patterns between the color bands before sealing the jar.
What makes this different from dry craft sand jars is that moldable sand’s grains cling together slightly even when poured, giving cleaner layer lines instead of the messy blending you get with loose playground sand. Color stability across batches matters a lot here, since mismatched shades between sessions can throw off a themed color palette — a topic covered more technically in the guide on what sand clay is and how it’s used beyond DIY recipes.
Activity 3: Freestanding Miniature Sculptures
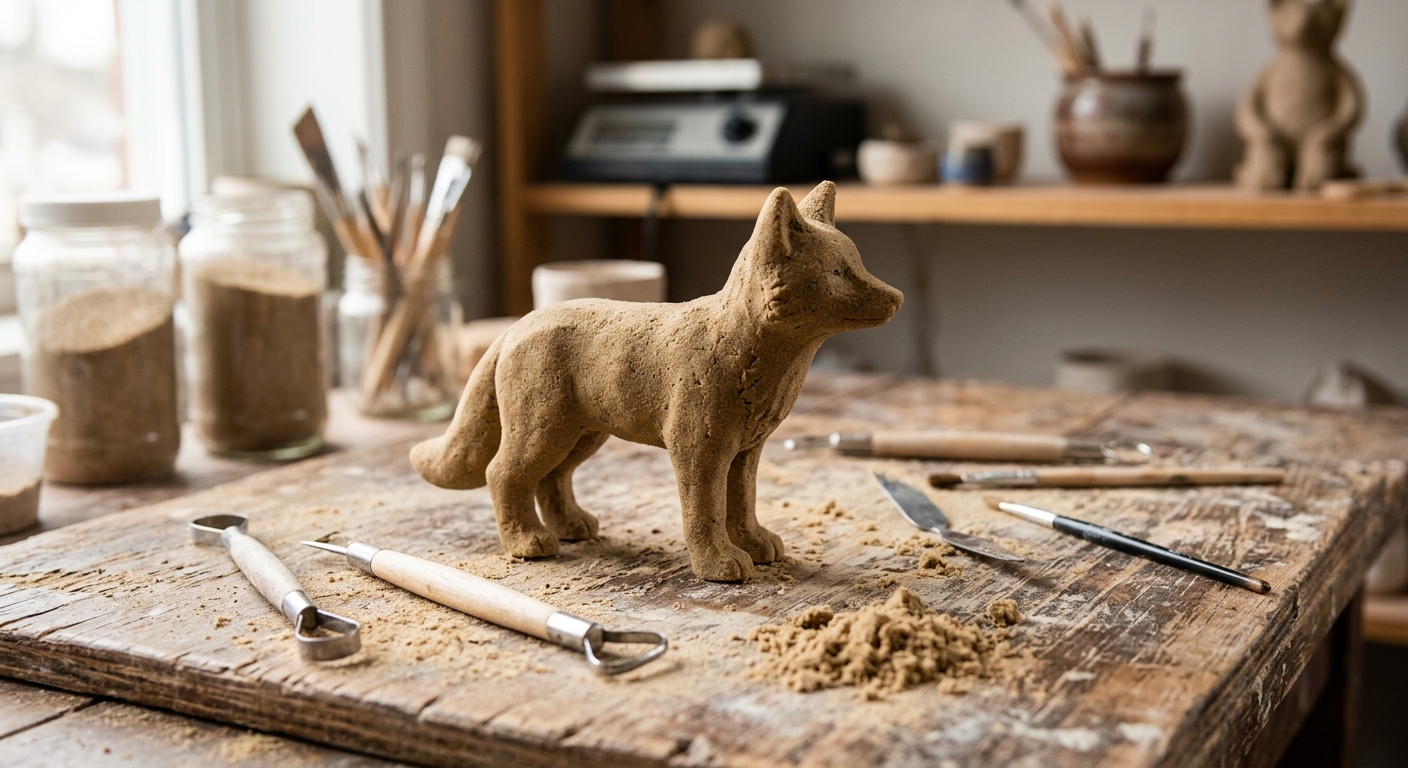
This is the advanced-tier activity, and it’s the one that actually tests whether a moldable sand has enough cohesion to matter. Participants build small standing figures — animals, simple busts, geometric forms — without a mold, relying entirely on the sand’s internal bonding to keep the shape upright.
Not every moldable sand formulation can do this well. Lower-quality mixes will slump or crack within minutes because the binder-to-grain ratio isn’t tuned for vertical structure. This is exactly the kind of formulation detail explored in the science behind kinetic sand and what makes it so unique.
Setting Expectations
Tell participants upfront that anything taller than about 8–10 cm without internal support (a skewer or dowel core) is likely to lean. Building that limitation into the brief prevents frustration later.
Activity 4: Textured Wall Tiles
Rollers, stamps, lace, even leaves — pressed into a flattened square of sand, these create textured tile-like pieces that can be displayed edge to edge as a group art wall. It’s a strong activity for workshops that want a shared final product rather than individual take-home pieces.
The technical trick is thickness consistency. Tiles under about 1.5 cm thick tend to develop hairline cracks once handled repeatedly, while tiles over 3 cm take noticeably longer to press evenly. A simple wooden frame or cookie-cutter border helps participants standardize thickness without needing a ruler.
Activity 5: Collaborative Sand Murals
Give a group a large flat tray — 60×90 cm works well for 6–8 participants — and a shared theme, then let everyone sculpt into their own section using spatulas and simple hand tools. The mural format works particularly well for corporate team-building sessions and school group visits where individual takeaways aren’t the point; the shared process is.
Facilitators running this activity should assign sections rather than leaving it open, otherwise participants tend to cluster in the center and leave the edges bare. It also helps to designate one color per zone in advance so the finished mural reads as intentional rather than chaotic.
Example: A School Field Trip Program
A children’s museum running a rotating school field-trip program uses a mural station as the final activity of the day specifically because it needs no individual cleanup — one tray, one shared cleanup routine, and no jars or panels to carry home.
Storage and Reuse Between Sessions
The biggest planning mistake workshop organizers make is treating leftover sand like leftover clay — sealing it away and hoping it’s fine next month. Moldable sand needs airtight storage specifically because its hydrophobic coating, while excellent at repelling water, doesn’t stop it from picking up dust or drying out slightly if left uncovered in a dry room.
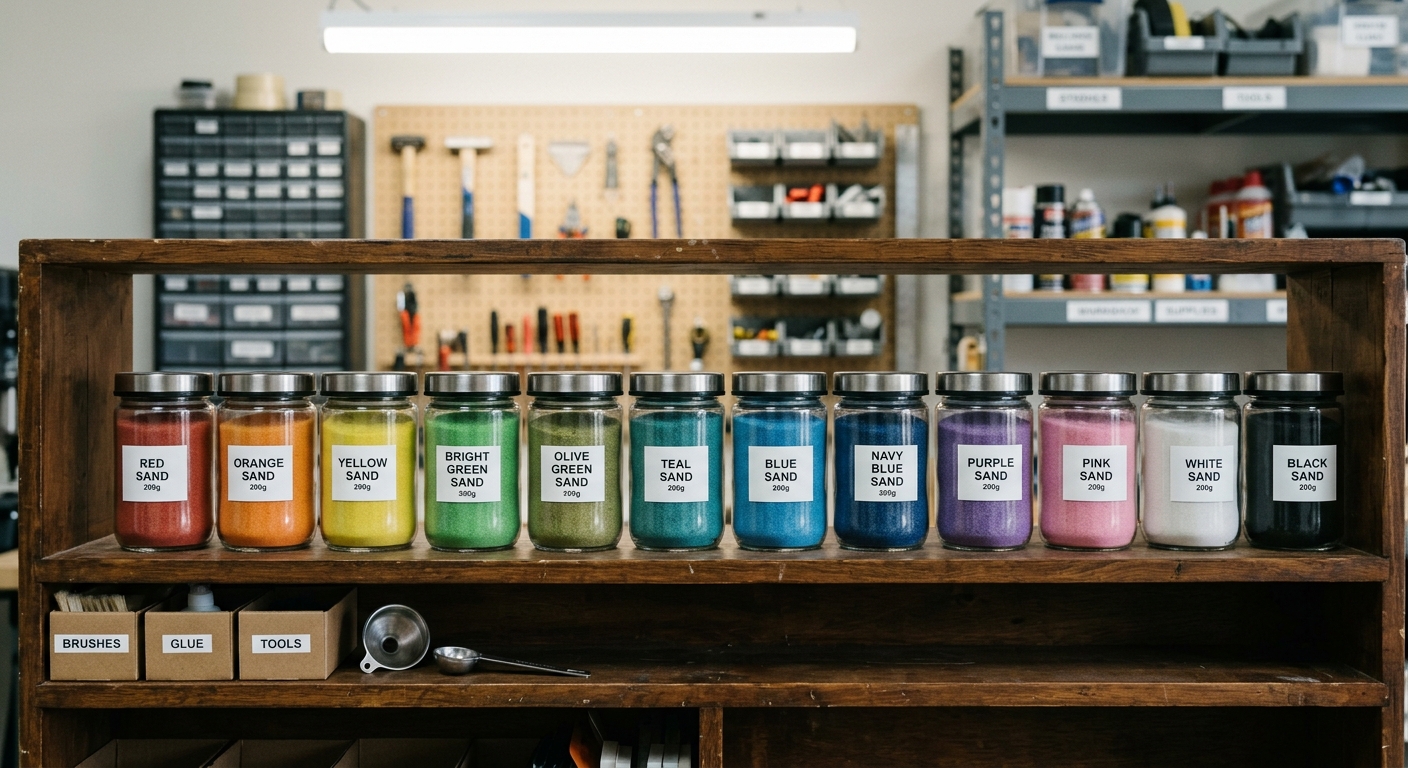
Between sessions, sort leftover sand by color back into labeled airtight containers rather than mixing everything into one bin — this saves significant prep time before the next workshop. If sand does turn stiff or crumbly from improper storage, the fixes in how to make kinetic sand soft again apply directly to workshop-grade material too.
Matching Activities to Group Size and Time Constraints
Not every activity fits every workshop slot. A one-hour lunchtime session shouldn’t attempt freestanding miniatures — there simply isn’t time to troubleshoot a leaning sculpture. Layered jars and relief panels are the fastest, typically wrapping in 30–40 minutes including cleanup.
Murals and textured tiles need more setup time but scale well for larger groups since multiple people can work simultaneously without competing for tools. If you’re designing a recurring program rather than a one-off event, it’s worth reviewing how a dedicated sensory or craft station gets laid out physically — the layout principles in designing a sensory sand station for preschool classrooms translate reasonably well to adult workshop spaces too.