

You can blend two colors of moldable sand into one, but you can never separate them again. The pigment is fixed to individual grains, so once the two portions are folded together your only remaining controls are proportion, order and dilution. Add the darker color to the lighter one in small increments, test a pinch before committing a whole bag, and keep a scoop of each original color in reserve.
Key takeaways
- Mixed moldable sand cannot be re-separated: sieving, floating and rinsing all fail because every grain has the same size, density and hydrophobic coating regardless of hue.
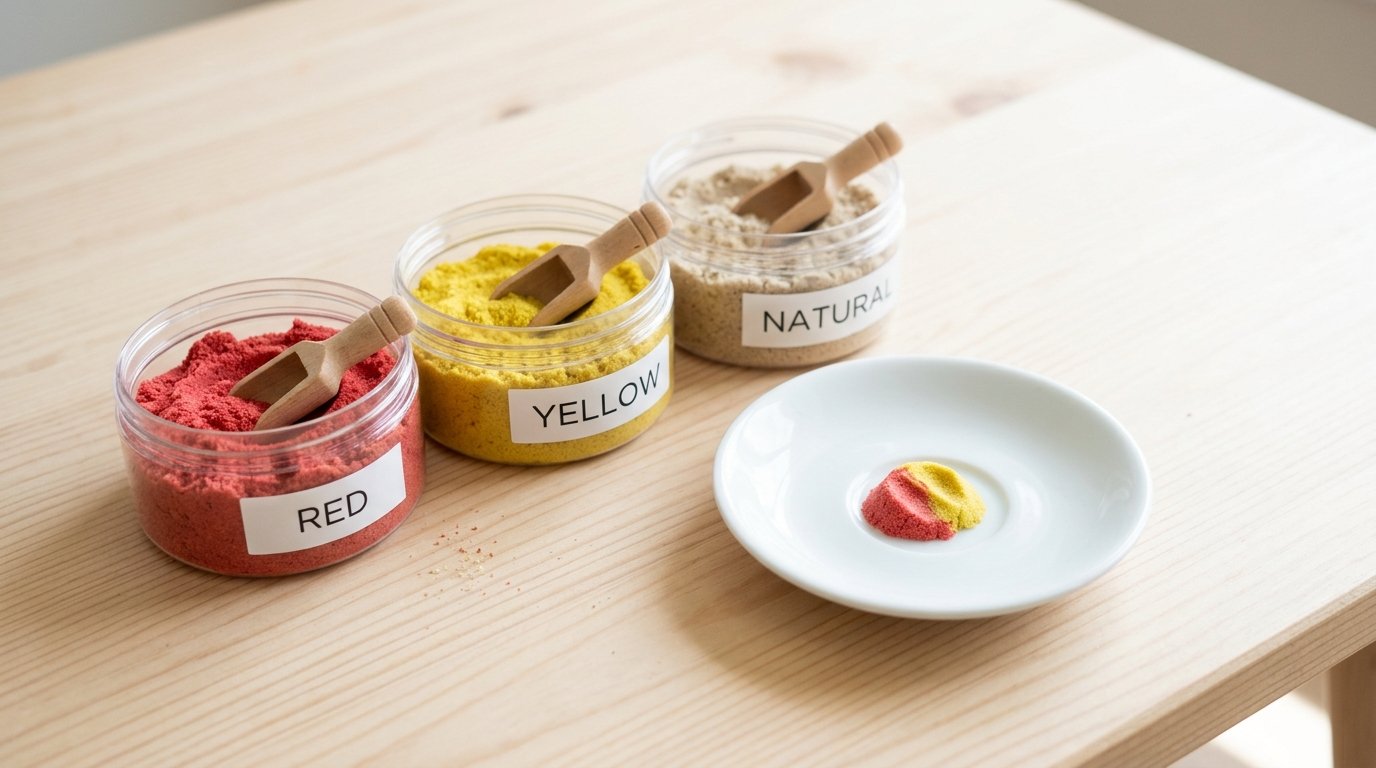
- Start at three parts base color to one part accent by volume, and build a 30 gram test pinch on a saucer before a full bag is committed.
- Add dark to light in quarter portions. A spoonful of light dropped into dark vanishes, while a spoonful of dark dropped into light can be watched and stopped.
- Keep a labelled reserve scoop of each original color so a failed experiment costs a spoonful and a good ratio can be repeated.
- A brown batch is usually still playable. Dilute half of it with fresh base, or give it a job as terrain, a ground layer or a base tone.
Mixed Sand Cannot Be Unmixed: What Happens at the Grain Level
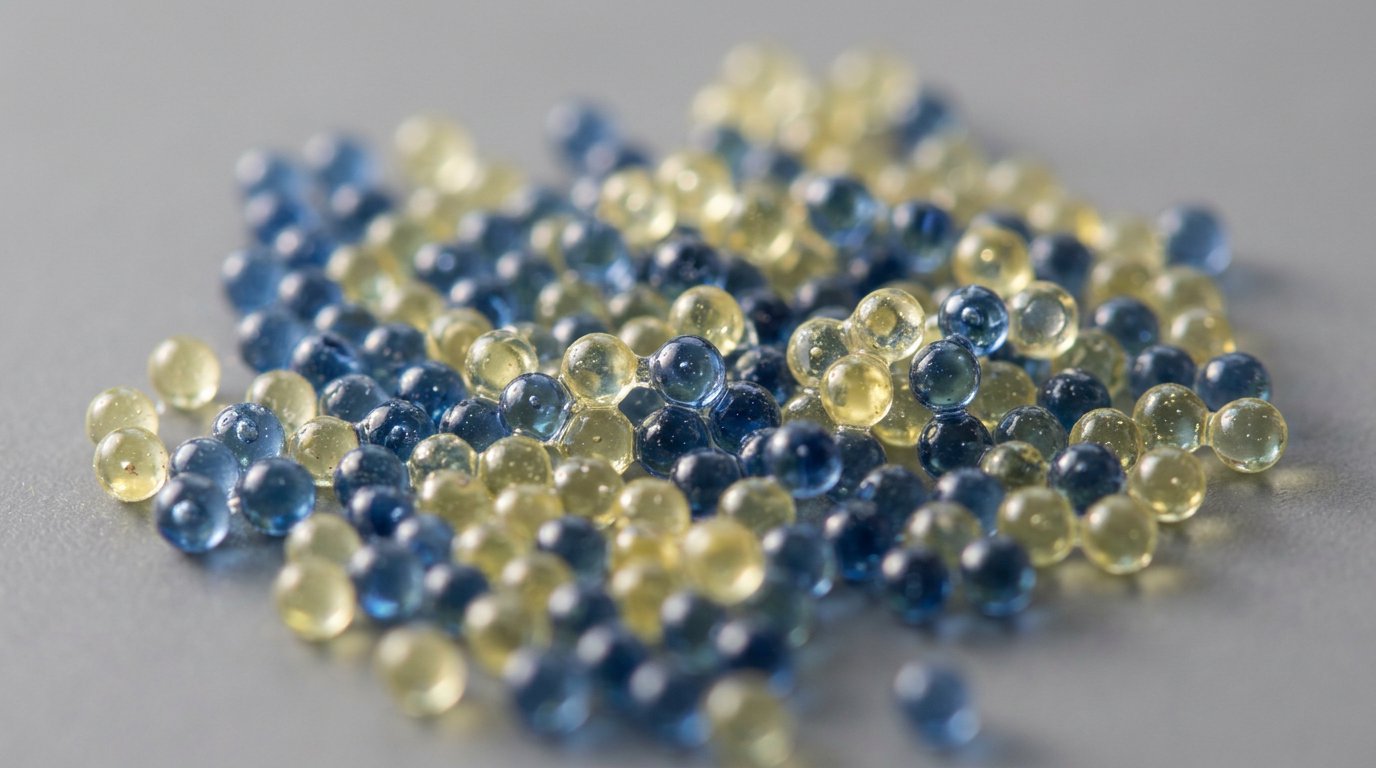
Commercial moldable sand is not a liquid with color stirred through it. Each grain carries its own pigment bonded to the outside, so a mixed batch is two separate populations of grains sitting side by side, not a new tone blended into a medium. When both portions come from the same product, the base material is identical: the pigment is bonded to the grain surface rather than soaked into it, and the only thing that differs between the two heaps is hue.
The binder film explains why the first several folds look wrong. That same film keeps grains from fusing into a solid block, and it also holds the two colors apart longer than paint would. You get speckle first, then marbling, then an even tone that arrives slowly. Anyone judging the batch after ten seconds of kneading is judging the wrong moment.
Sorting the grains back apart later is not a realistic option, which is why questions about how to separate kinetic sand colors have no good answer. Every grain in the batch has the same particle size, the same density and the same hydrophobic coating, so the three methods people reach for fail for one shared reason. A sieve cannot split grains that pass the same mesh. Saltwater flotation cannot lift grains of equal density. Rinsing simply makes the sand ball up and refuse the water, because the coating that keeps it from getting wet underwater does not care which color it is protecting.
Mud is a texture word before it is a color word. A batch that has gone dull, greasy brown and weak will not hold a shape, and that failure traces back to over-working, trapped moisture, contamination, or two incompatible binders meeting for the first time. Color alone does not cause it. IBIZA makes moldable Magic Sand from glass beads using environmentally friendly materials, and that sand is formulated to hold its shape and not dry out, so a batch of it that turned brown is almost always still playable. You just have a color you did not choose.
Two adjacent searches are worth naming, because they dominate this topic and answer something else. Making sand from scratch with cornstarch and glue is a small manufacturing exercise, not a color-mixing one. A brand activity sheet is a printable, not a method for the two open bags in front of you.
Reserve First, Test Second: Two Habits That Cap the Cost of a Mistake
Two habits decide whether a bad mix costs you a spoonful or a whole bag, and both of them happen before any color meets any other color. Imagine a classroom aide opening four bags at once because the session starts in twenty minutes. The aide who scoops a reserve from each bag first still has four clean colors afterwards, whatever the tray looks like.
- Reserve before you combine. Scoop a portion of each original color into its own small labelled container while the bags are still separate. This is the single most useful habit in the whole process, and it is what makes the rescue ladder further down possible at all.
- Start at three parts base to one part accent, measured by volume in the same scoop. Volume beats eye every time. Judging by look is how a batch takes an accent dump it cannot recover from.
- Build a roughly 30 gram test on a saucer. Drop the two portions side by side, fold gently, observe, then knead and look again. Thirty grams tells you what a full bag would tell you and costs you almost nothing to abandon.
- Judge after a short rest, not mid-knead. Color keeps evening out for a few minutes as grains redistribute, so a batch that looks wrong straight after kneading can look right five minutes later.
- Write the ratio and the date on the reserve lid. A good match is repeatable only if it lives somewhere other than memory. Nobody remembers whether it was three to one or four to one three weeks later.
- Have a pale neutral open before you start, not after something goes wrong. White, natural or pale yellow is the only reliable way to lift an overshot batch, and it cannot help you from inside a sealed cupboard across the room.
Add Dark to Light, Never the Reverse: Order and Direction Rules
Pigment mass wins, and that single fact sets the direction of every mix you will ever do.
- Dark into light is controllable. Light into dark is not. A spoonful of dark dropped into a bowl of pale sand shifts the hue gradually and visibly, so you can stop whenever you like. A spoonful of light dropped into dark sand disappears without a trace, and you have learned nothing except that you need more light.
- Add the accent in quarter portions, kneading between each one. Two or three small additions give far more control than one large one, and each one is a checkpoint you can react to.
- You cannot lighten a batch by adding another hue. Only more base color dilutes. Once the batch has crossed into grey-brown, the volume of base needed to bring it back may simply exceed what you have on hand.
- Adjacent primaries stay clean. Blue with yellow, red with yellow, red with blue all travel toward a recognizable secondary and stay there. Complementary pairs head for grey-brown within a few folds, so red with green, blue with orange and yellow with purple are not beginner mixes.
- Three hues at once almost always land muddy. Build a shade in two steps rather than three simultaneous additions, and let the second step correct the first.
- To get a color you do not own, the safe route is more pre-colored sand of the same product. Liquid dye, food coloring, ink and paint wet the hydrophobic coating and clump the grains into sticky lumps. Home recipes add pigment during the making, which is a different process with a different result.
A Small Outcome Chart: Where Mud Actually Starts
Most muddy batches are predictable in advance. This chart is the shortcut: find the combination you are about to attempt and read the risk column before you open the second bag. For a broader look at how standard, specialty and pastel tones sit together, the play sand colors guide covers the full palette.
| Combination | Expected result | What controls it | Risk |
|---|---|---|---|
| Light base plus a small dark accent | Clean tint or shade, controllable through several folds | Accent in quarter portions, kneaded between each | Low, with overshoot as the usual failure |
| Primary plus adjacent primary | Clean secondary: green, orange or purple | Equal parts by volume, then corrected with base | Low |
| Primary plus its complement | Dulls toward grey-brown within a few folds | Keep the second color to a trace, or skip the pair | High, the fastest route to mud |
| Any three hues at once | Almost always muddy | Build in two steps instead of three at once | High |
| Color plus white | Pastel tint that needs a large share of white to hold | White in big increments, color in small ones | Low for texture, moderate for overshoot |
| Color plus natural or pale yellow | Muted earth tone, and the closest route to a natural sand color | Increments far smaller than instinct suggests | Moderate |
| Two colors of the same product | Predictable blend, texture unchanged | The reserve scoop is the only safety net needed | Low |
| Two brands, or commercial plus homemade | Uneven texture: separation, clumping or shedding | A pinch test first, sample kept small | High for texture |
Turn the chart into a lesson
For older children this table doubles as a color theory exercise, and a genuinely good one. Ask them to predict the result before mixing, then mix a pinch, record the ratio, name the outcome and compare it against a printed color wheel. Prediction first and evidence second is the part that turns a craft tray into a science activity, and a wrong prediction costs a spoonful rather than a set.

The Blend: A Step-by-Step That Avoids Over-Working
The most common way to ruin a perfectly good mix is not the ratio. It is the kneading. Smooth, round glass-bead sand is soft and not sticky to hands, which makes it pleasant to fold by hand and also tempting to keep folding long after the color has evened out.
- Work on a shallow tray with a raised lip, with a spare container and a cloth within reach. Mixed color is also mixed mess, and the lip is the only thing standing between you and the floor.
- Measure base and accent separately, side by side, rather than pouring one on top of the other. You want to see the boundary while you still have the option to stop.
- Fold with your fingertips five or six times, lifting from the outside in, before any real kneading. This starts distribution without shearing anything.
- Knead only until the color stops shifting, and stop while the sand still feels soft. The signal to stop is the color, not the clock. Over-kneading warms the binder and shears it, and that is exactly how a batch that looked fine a moment ago turns crumbly.
- Rest the batch for about five minutes and look again. Color continues to even out on its own, so a batch that seems uneven at this stage is often not finished yet.
- Scale up only when the tone is right, and scale it in a clean tray using the same procedure. If the tone is wrong, adjust with base or accent in increments smaller than the last one.
- Wipe hands and tools between colors. A crust of the previous color reappears as dark flecks in the next batch, and flecks are the one thing a damp cloth cannot fix afterwards.

If the Batch Already Went Brown: A Rescue Ladder
Work down this ladder in order. The temptation is to skip straight to the last step and throw the batch out, when step two would have shown you whether it could be saved at all.
- Stop adding color and note the ratio that produced the result. That number is the only thing that makes the next attempt cheaper.
- Split the batch and dilute half of it, using fresh base in the lighter of the two original colors, added in stages with a check after each addition. You are buying information, not just fixing a tone.
- Lift with white or pale yellow if the batch is dark but not yet grey. If it has already gone grey-brown, white will only make grey, and you will have spent your neutral for nothing.
- Accept the muted earth tone and give it a job. Terrain, a ground layer in a small-world build, rock and soil in a dinosaur scene, or a base layer under a bright top layer. That is how a batch stops being waste and starts being material.
- Treat texture separately from color. Crumbly points to cohesion failure and sticky points to moisture or contamination. Neither one is fixed by adding more pigment, and the fixes are different, as the walkthrough on sticky sand fixes that actually work sets out.
One rule holds across the whole ladder: never add water, oil, cornstarch, glue or heat to commercial hydrophobic sand to correct color or texture. The coating is designed to repel water, and the binder is formulated so the sand holds its shape and does not dry out. Every one of those additions introduces a second binder, and a cosmetic problem becomes a material one.
What Can Ruin Kinetic Sand (Color Mixing Is Not on the List)
Colored sand in a humid room may clump, but it does not lose its color to the air, and hue is rarely the thing that kills a batch. Here is what actually does.
- Water. Not because the grains absorb it, since the coating repels water by design. Moisture trapped between grains inside a sealed bin causes clumping, and it is also behind the damp smell that makes people assume the sand has gone bad. The mechanics of that are covered in why damp sensory sand smells.
- Dust, crumbs, hair and glitter. Contamination shows up as grit and dark specks, and it is not a color problem even when it looks like one.
- Cross-use with play dough, clay or slime. The residue binds grains into hard lumps that no amount of kneading will break.
- Heat and direct sun. Both change how the binder behaves, and long storage in an open container does the slow version of the same damage.
- Mixing across sources. This is the trap worth naming out loud. Take a buyer who tops up a commercial hydrophobic sand with a homemade cornstarch-and-glue batch to stretch it. Different binders and different grain shapes mean the two separate, clump or shed rather than marry. Two brands can differ in grain size and behave the same way.
- Mixing two colors of the same product does not belong on this list. Nothing about the coating or the binder changes when the only difference between the two portions is hue. IBIZA states that the glass bead process behind its own sand is what makes it stick together well and last longer. Whatever process produced yours, color is not the variable you are changing.
Storage, Cleanup, and the Age Question After a Mix
A mixed batch holds its texture as long as you keep the room out of it. The formula is built not to dry out, so storage has nothing to put back: it only has to stop humidity and heat from moving the moisture balance inside the container. It stays safe only if you read the label that came with it.
- Store airtight, cool and dry, pressed flat, with the color name and mix date on the lid. Humidity causes clumping, not color loss, so the enemy is trapped moisture rather than air. More detail sits in storing magic sand without drying it out.
- Condensation on the inside of the lid is moisture, not pigment leaking out. Wipe it, let the sand air for a few minutes, then seal it again.
- Keep the reserve containers away from the working batch, so the originals stay genuinely clean rather than picking up stray accent grains.
- Clean hard floors with a damp cloth or by lifting the silicone mat and tipping it back into the bin. Fabric takes tape or a lint roller. Carpet takes a soft brush and a vacuum with the beater bar disengaged, and nothing ever goes down a drain, because the sand does not dissolve.
- Pigment on a properly bonded grain does not transfer readily, but a heavily worked mixed batch can shed fine dust, so keep it off pale upholstery.
- Age guidance comes from the label of the product in your hands, not from this article. Small parts, ingestion risk and the level of supervision required all depend on the specific product, and a homemade recipe’s safety statement does not transfer to a commercial sand any more than the reverse does.
- Look for the standard named on that packaging or in its documentation, such as 3C, EN71 or ASTM, and ask for the test document itself. Bulk sand certified to China 3C, with EN71 for Europe and ASTM for the US carried out through SGS for export, comes with test documents that are shared on request through sales.
Make the Next Mix Deliberate: Reserve a Scoop, Record the Ratio
Everything above works once. A record is what makes it work twice.
Write the ratio and the date on the lid of every container you fill, including the reserve. Nobody remembers three weeks later whether it was three to one or four to one, and a batch you cannot repeat is a one-off rather than a color you own.
If you want to understand what is actually inside the sand before you blend two batches, the material guides at magicsandfactory walk through the glass bead, the hydrophobic coating and how pigment is fixed to the grain. IBIZA has spent 30 years specializing in the R&D and manufacturing of glass beads. Always close the loop with the label on your own product for age guidance and test documentation, because that label is the only source speaking for the sand in your hands.
Frequently asked questions
What colors do I mix to get the color of sand?
Pale yellow with a trace of brown or grey is the closest route to a natural sand tone, added in increments far smaller than instinct suggests. Starting from white and building up with a speck of yellow and brown gives you more control still. Never begin with a saturated color and try to pull it back down.
Does mixing kinetic sand colors ruin it?
No. Color mixing changes hue, not chemistry: the coating, the binder and the grain stay the same when two portions of the same product are folded together. Texture damage comes from elsewhere, mainly over-kneading, trapped moisture, contamination and heat. A mixed batch that has gone dull brown is usually still soft, still moldable and still usable as a base tone.
How long does mixed kinetic sand last?
As long as the unmixed sand, provided it is stored airtight and away from heat. Sand formulated not to dry out does not expire on a schedule, and mixing does not shorten that. Keep the lid sealed, wipe condensation from the inside, and press the batch flat rather than leaving it in a heap that traps more air.