

Sand play develops hand strength, finger dexterity, bilateral coordination and tool control, and it does so mainly through resistance: the sand pushes back against the hand, so every squeeze, scoop and pinch is a small load-bearing repetition. What it does not do on its own is teach a pencil grip, correct a motor delay, or develop skills a child has not already been scaffolded into, so the material, the tool and the task have to be chosen deliberately. Get the consistency wrong for the grip you are targeting and you get a pleasant half hour with almost no motor load. Get it right and the same tray becomes a graded strength exercise that a four-year-old keeps returning to unprompted, repeating the same press or squeeze until the hand tires.
Key takeaways
- Sand play develops hand strength, finger dexterity, bilateral coordination and tool control through resistance, so if the material does not push back, the session is play but not motor work.
- Name which of the four skills a session targets before choosing the tray, because a deep tray of loose dry sand is a pouring station and a shallow tray of firm moldable sand is a moulding station.
- Sequence by grip stage rather than age alone: palmar grasp with a large scoop, pincer with buried objects, tripod with a craft stick, and precision release with decorations placed and left intact.
- A material fault is a motor fault: dried sand cannot support graded force practice, sticky sand pushes a child back to a whole-hand grasp, and crumbly sand makes precision release impossible.
- Record material and tool offered, grip observed and next step after every session, and keep claims honest: sand play supports skill through practice but does not correct motor delay or replace handwriting instruction.
What Sand Play Actually Develops, Broken Into Four Separate Skills
Ask a room of teachers what sand play develops and you will hear one phrase: fine motor skills. That phrase is doing four jobs at once, and until you split it apart, activity choice is guesswork. Fine motor means control of the small muscles of the hand, fingers and wrist, plus the coordination that lets them work together on purpose. Sand trains four distinct things inside that definition.
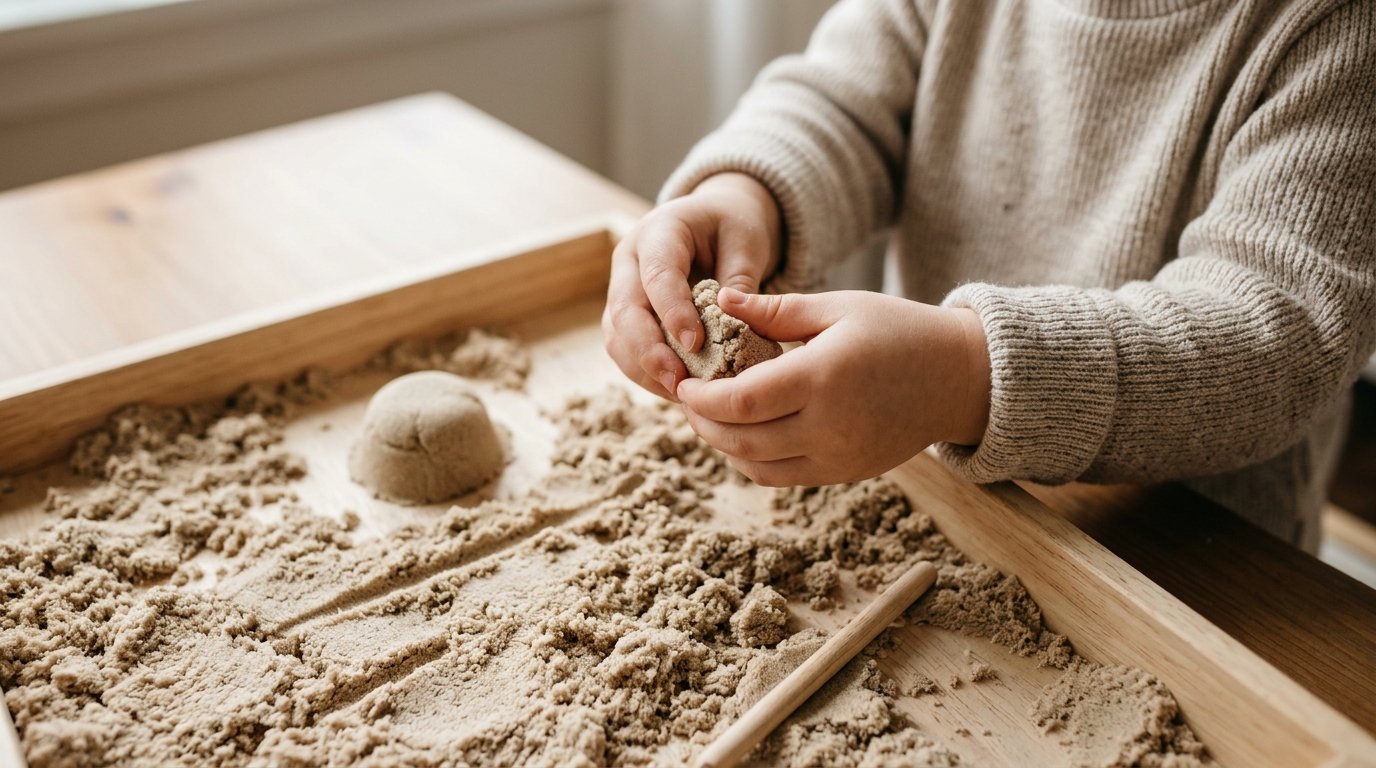
- Hand and finger strength. Packing sand into a mould, squeezing a fistful and lifting a loaded scoop recruits the intrinsic muscles of the hand. That is a different demand from picking up a light plastic toy, because the material resists. Resistance is the whole point.
- Dexterity and finger dissociation. Separating index from middle finger to pinch a crumb, or isolating the thumb to press an edge, is the control that later underpins buttoning, zip pulls and fasteners. Children who move all four fingers as one block find those tasks hard.
- Bilateral coordination. One hand holds the mould while the other presses. One hand steadies the tray while the other scoops. That division of labour is a skill in itself, not a by-product of playing.
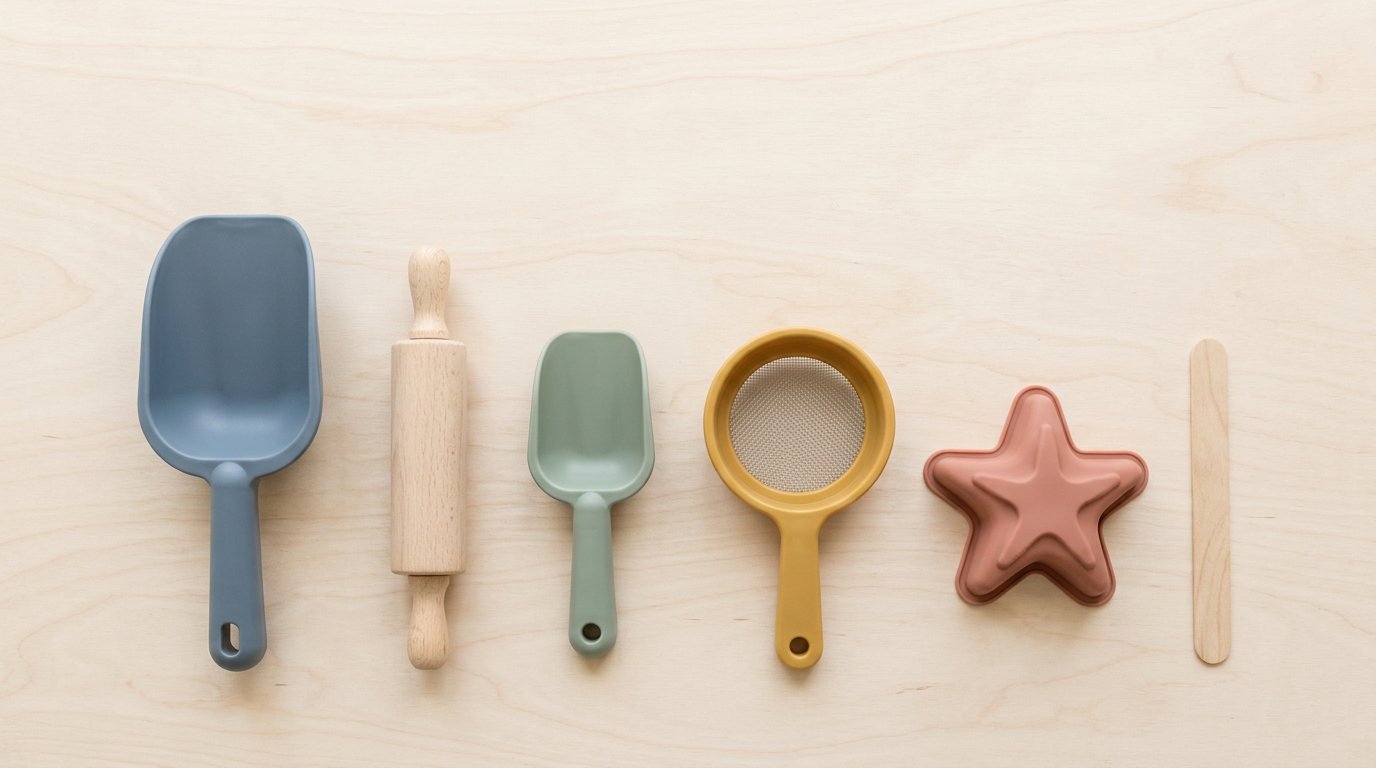
- Tool control. A scoop, spatula, rolling pin or craft stick is a child’s first experience of extending the hand through an object, which is the same control logic they will later apply to a pencil or a pair of scissors.
Five sand actions that put those skills to work
- Pinching the rim of a pinch pot, which loads thumb and index together.
- Pressing a shape out of a mould and releasing it cleanly.
- Drawing a line in a flat sand surface with a stick, which is graded force made visible.
- Pouring between two containers without spilling, which combines wrist rotation with visual tracking.
- Cutting a sand cake with a plastic knife, which needs a steadying hand and a moving hand at the same moment.
The action lists competitors publish are similar: scooping, pouring, moulding, sifting, digging, patting, sprinkling and shaping. What those lists rarely say is that eye-hand coordination and sensory registration run alongside the four skills without being the same thing. A session that is messy, tactile and delightful is not automatically a strength session. If hand strength is the goal, something has to push back. For the wider learning case around these sessions, how playing with sand helps children learn covers the language, attention and pretend-play side.
Knowing which of the four you are targeting also settles arguments about setup. A tray that is deep, dry and full of loose sand is a fine pouring station and a poor moulding station. A shallow tray of firm moldable sand with one small mould is the reverse.
The Grip Progression: Palmar Grasp, Pincer, Tripod and Precision Release
Most sand provision stalls at stage one for years. A large tray and a bucket are the default kit, nobody moves the child on, and a five-year-old ends up doing the same whole-fist scooping they did at two. A progression fixes that, because it tells you what to change and when.
| Stage | Sand consistency | Tool | Cue to move on |
|---|---|---|---|
| 1. Palmar grasp and whole-hand strength | Firm moldable sand that resists and rebounds | Large scoop, fist-sized mould | Child fists the scoop but aims it accurately with the wrist |
| 2. Pincer and index-thumb opposition | Moldable sand with a stable surface; loose dry sand collapses before the pinch completes | Small objects buried in the sand, single beads or shells to press in | Child picks up one item at a time without dragging the surrounding grains |
| 3. Tripod and dynamic control | Moldable sand that holds a line without slumping | Craft stick, short brush, small rolling pin held between thumb, index and middle finger | Child produces a continuous stroke and stops where intended |
| 4. Precision release | Sand that coheres well enough to keep a placed shape intact | Decorations, fingertip-sized moulds, optional tweezers | Child places an object and lets go without crushing it |
Two failures are worth naming because they happen constantly. The first is jumping to stage four with a child who still fists a scoop: you get a decoration pressed so hard the base collapses, and the child reads it as their own clumsiness. The second is parking an older child at stage one by offering nothing but a big tray and a bucket. Boredom at five looks like behaviour, and it is usually a specification problem.
Release deserves its own line because it is harder than grasp and most activity lists skip it. Closing the hand around something is a reflex you build on. Opening the fingers at a chosen moment, at a chosen place, with a chosen amount of force, is deliberate control, and it is what handwriting, cutlery and every fastener in a school uniform depends on.
Why the Sand Itself Changes the Hand Work
Change the sand and you change the exercise. That sentence is missing from almost every benefits-of-sand-play article, and it is the one that decides whether a tray actually loads the hand.
Dry play sand flows. It offers almost no resistance, so it trains pouring, tracking and wrist rotation well and barely loads the fingers at all. Wet beach or river sand gives high resistance, but its cohesion depends on water content, and water content drifts as the sand dries through a session. The task is therefore inconsistent: the same press works at ten in the morning and fails at eleven. Inconsistent material kills repetition, and repetition is where motor learning happens.
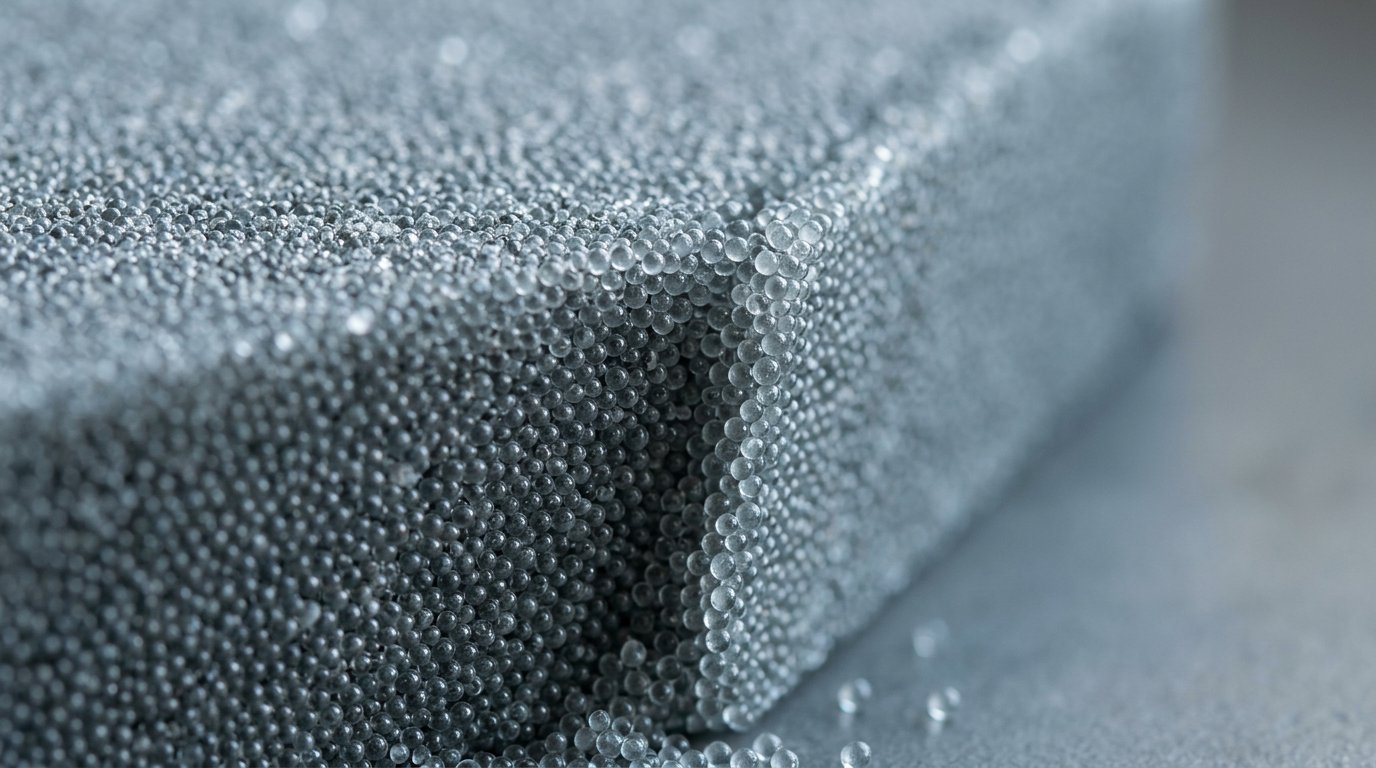
Moldable sand built on glass beads with a hydrophobic surface treatment solves the consistency problem differently. It holds its shape without water, so resistance is predictable and the child can repeat the same press, pinch or mould release many times and get the same result each time. IBIZA makes moldable Magic Sand from glass beads using environmentally friendly materials, and describes the bulk material as smooth, round glass-bead sand that is soft and not sticky to hands, moldable, shape-holding and formulated not to dry out. The company also describes the sand as water-repellent, using a specialised coating that keeps it from getting wet underwater, and states it works in different climates, humid or dry.
Two consequences matter for hands. First, smooth round beads slide against each other rather than abrading, which changes how long a child will keep a hand in the tray and how the material feels to a child with sensitive skin. IBIZA attributes the cohesion and longevity to a unique glass bead process that makes the sand stick together well and last longer. Second, predictable material lets you plan a term rather than react to the weather. If you want the material comparison in more depth, glass beads versus silica sand breaks down what sits inside moldable play sand.
The practical translation is blunt: match the material to the grip stage, and expect to change material as the child progresses. One tray does not serve every age, however good the tray is. Note also that moldable sand of this type is described by IBIZA as a kinetic-style sand rather than the Kinetic Sand brand, which the company identifies as a Spin Master brand, so specifications should always be checked against the actual product rather than a generic category name.
What a Session Looks Like From Age 1 to 6
Same material, four ages, four different motor targets. Here is what each one looks like when you set it up tomorrow.
Ages 1 to 2: containment and cause and effect
Shallow tray, one large scoop, one soft mould, adult sitting alongside rather than opposite. The motor target is palmar grasp and release, and the win is that the child keeps hands in the material for a stretch of minutes. Skip the tool rack. At this age the hand is the tool.
Ages 2 to 3: filling and dumping
Two containers, a scoop and a small funnel. The motor target is wrist rotation and bilateral coordination, with the pouring hand steadied by the other. Expect spills and plan for them: a lipped tray and a mat with a defined edge turn a spill into a two-minute tidy instead of a fifteen-minute one.
Ages 3 to 4: moulding and pressing
A shape mould plus a small rolling pin, and a buried-objects retrieval task for pincer work. The motor target is graded force. Press too hard and the shape flattens, too softly and it crumbles on release. That feedback loop is the whole lesson, which is why the sand has to be firm enough to give a clear answer.
Ages 4 to 6: planned construction
Draw a plan in the sand with a stick, build it, then cut it. The motor target is tripod control and precision release, with a language and narrative layer arriving for free as the child explains what is being built and why.
Two variables make or break every one of those sketches. The first is the amount of sand: enough to resist, not so much that the child sinks to the wrist and loses control of the stroke. The second is tray depth relative to tool length, because a scoop longer than the tray is deep will scrape the base on every movement and turn a smooth action into a jerky one.
A mixed-age setting usually needs two trays rather than one compromise tray. Tools sized for a two-year-old are unusable at five, and a five-year-old handed toddler tools will drop the task inside a minute.
When the Sand Stops Behaving: What Each Fault Does to the Motor Task
A dried-out tray is not a minor inconvenience. It is a failed exercise, and the child pays for it in frustration. Every material fault maps onto a specific motor failure, which is why troubleshooting belongs in a fine motor guide rather than in a cleaning appendix.
- Dried or stiffened sand. It stops holding a shape, so moulding and pressing become a frustration loop instead of graded force practice. Recondition or replace. Adding water to a hydrophobic material is the wrong fix, because the coating that repels water also prevents the added water from doing what you want.
- Over-wet or contaminated sand. Water, hand lotion or skin oils turn the surface tacky and clumped. The fingers stop dissociating and the child falls back to a whole-hand grasp, so the material has effectively pushed them back a stage.
- Crumbly sand that will not cohere. This fails precision release specifically, because the child cannot place a shape and leave it intact. Release practice needs a material that stays where it is put.
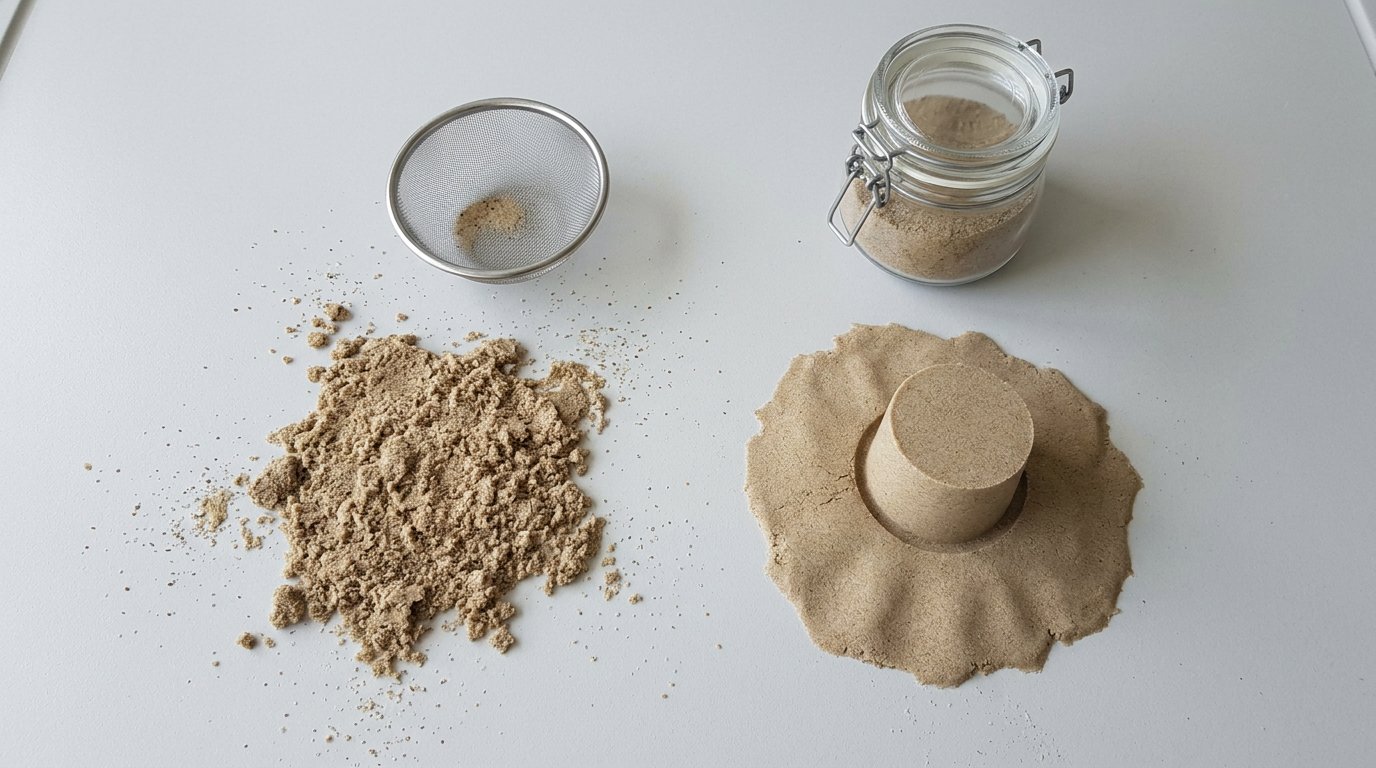
- Dust and fines in the tray. Fine particles create a slipping layer that reduces resistance, so an identical scooping action trains less than it should. Fines are also the fraction most likely to become airborne, which is a second reason to sieve regularly.
- Colour transfer or residue on hands. Treat it as a quality signal. A material that marks the skin changes how long a child is willing to keep handling it, and willingness is the precondition for every repetition you are trying to bank.
The operational response, in order: sieve the tray, cut hand lotion before the session, store the material sealed between uses, and rotate trays rather than topping up a tired one indefinitely. A tired tray topped up with fresh material gives you a mixture that behaves like neither, and you will spend the next session troubleshooting instead of teaching. On the sticky case specifically, the fixes for sticky sand mostly come down to removing moisture and oils rather than adding anything.
Sealed pack formats matter here more than they look. Bulk material supplied in bags, boxes, jars or storage containers arrives in the best storage container it will ever have, and decanting into an open tub is usually the moment a good material starts to decline. For planning scale, IBIZA describes a 50-pound bag of magic sand as filling a small pool, which is a useful way to size how much a setting needs across rotating trays rather than one permanently topped-up bin.
The Child Who Will Not Touch It: Tactile Defensiveness and Low-Mess Entry Points
A child who will not put a hand in the sand is not being difficult, and the answer is not to guide the hand in. Watch what avoidance actually looks like: the wrist held high so only the fingertips graze the surface, hands wiped on trousers every few seconds, one finger used while the others curl away, or a tool requested for every single action. None of that is a behaviour problem. It is information about tolerance.
- Start outside the material. A sealed bag of sand to press and knead gives tactile input with no residue and no cleanup, and the child controls the contact entirely.
- Move to a shallow layer and a tool. A thin layer of sand and a scoop is enough to begin. Depth is intimidating; surface is inviting.
- One hand, briefly, with a wipe within reach. The child needs to see that the exit exists before they will commit a palm.
- Two hands, then a full tray, with tools still available at every stage rather than withdrawn as a reward.
- Add moldable material once tolerance builds, starting with low-tack and drier textures before moving to fully moldable sand.
Tools are legitimate, not a workaround. A scoop extends reach, keeps the palm clean, and tool use is itself a target in the progression above. Framing a tool as cheating tells the child their coping strategy is wrong, which is the fastest way to lose the tray altogether. Smooth round beads help here too, because less abrasive feedback means a sensitive hand can stay in contact longer.
One boundary worth stating plainly: persistent tactile avoidance is a reason to involve an occupational therapist. Sand play is not a substitute for assessment or therapy, and a teacher who suspects a sensory processing difference should document what they see and refer, not improvise a programme. Settings already running therapy-informed sessions have a useful model in integrating sand into therapy sessions.
Classroom Logistics: Containment, Cleanup and Storage That Survive a Term
Sand provision usually dies for operational reasons, not developmental ones. A setting stops offering it because the floor got impossible, not because the children stopped learning. These are the details that decide survival.
- Tray and mat setup. A tray with a lip, a mat with a defined edge, and a floor surface that can be swept. A carpeted corner turns every session into a vacuuming job and eventually into a cancelled activity.
- Cross-child contamination. Small individual trays beat one shared bin on hygiene grounds, and they also stop one child’s damp hands degrading the material for everyone else in the group.
- Storage between sessions. Sealed, dry, out of direct sun and away from water play equipment. Moisture is the most common cause of a material going tacky, and water play is where moisture lives.
- Rotation rather than indefinite topping up. Date the container when it is opened and retire material that has picked up debris, crumbs or fines. Tracking age is the only way to know whether a fault is the material or the task.
- A cleanup sequence that actually works. Dry hands first, then a brush, then a damp cloth, then the floor. Wet hands smear sand into the skin instead of lifting it off.
- Colour discipline. Mixing colours across trays is a material change, not only an aesthetic one, so keep dedicated trays per colour where the setting has enough of them.
Paperwork is part of logistics. Bulk material is certified to China 3C, with EN71 for Europe and ASTM for the US carried out through SGS for export, and test documents are shared on request through sales. Request them before the term begins rather than after a parent asks, because the answer arrives faster and the conversation is calmer.
What to Observe and Record, and What Sand Play Cannot Claim
Three lines after each session is enough to show progress across a term and enough to hold your ground in a parent conversation. You do not need a rubric. You need to notice the same four things every time.
- Which grip the child used without prompting, not which grip they can produce when reminded.
- Whether the non-dominant hand steadied the mould or the tray, or drifted away.
- How many repetitions the child completed before changing task, which is your best proxy for engagement and endurance.
- Whether the child corrected force after a failed press, which is the clearest sign that feedback is being used.
The note format that survives a busy term is: material and tool offered, grip observed, next step. Something like “moldable sand, large scoop, age 4. Palmar grasp with accurate wrist aim, six fills before switching. Next: smaller scoop to move toward a tripod hold.” That is repeatable, comparable week to week, and defensible if anyone asks what the sand table is for.
The limits are the ones already set out in the intro and in Key Takeaway 5, and they do not soften with practice: sand supports strength, dexterity, bilateral coordination and tool control, and any source promising more than that from a tray of sand is overreaching.
Distinguish manufacturer-reported compliance from independent verification, too. A supplier stating that a material complies with a standard is not the same as a test report in your handbag. IBIZA states its Magic Sand complies with China 3C, SGS, ASTM and other international safety standards and that it meets American and European safety standards; that remains a manufacturer statement until you hold the document. On what testing does and does not cover, age guidance and ingestion concerns is the honest version. Age guidance itself depends on ingestion risk and supervision rather than on the material being universally safe, so defer to the supplier’s stated age guidance and your setting’s own policy.
Setting Up Your First Progression Session
A progression does not require new furniture, a full sensory table or a budget line. It requires choosing one variable and changing it on purpose.
- Start with one grip stage and one material rather than a table full of options. Options invite sampling, and sampling produces no repetitions.
- Pick the tool for the stage, not the tool the setting already owns. If the stage calls for a craft stick, a fist-sized scoop is the wrong instrument regardless of how many you have.
- Run the session twice before judging it. The first attempt is exploration. The second is where the motor repetition actually shows up, and it is also the one that tells you whether the material is right.
- After each session, note one thing about the material: shape retention, residue on hands, dust, or stickiness. That one line is what tells you when to recondition or replace instead of guessing.
Settings that need the same material behaviour across many trays, colours and age groups can ask for test documents, which are shared on request through sales, then confirm current specifications directly with the supplier rather than trusting a blog post. IBIZA states 30 years of specialisation in the research, development and manufacturing of glass beads, and lists eight colours, Green Apple, Lemon Yellow, Mysterious Purple, Natural Sand, Pink Lady, Scientific Blue, Strawberry Red and Vitality Orange, which lets a setting keep trays visually distinct without changing the hand demands between them.
Start with one stage, one tray and one tool. Run it twice, write three lines, and change a single variable at a time. That is a fine motor programme, and it costs less than the equipment catalogue version.
Frequently asked questions
What are 5 things you can teach with sand?
Sand is a practical medium for teaching shape and volume through filling and dumping, force control through pressing a mould without crushing it, sequencing through planning then building, descriptive language through narrating what is being made, and basic material science because water-repellent sand invites prediction and testing.
What do children get out of sand play?
They get hand and finger strength, finger dexterity, bilateral coordination and tool control, because the material resists and loads the hand. Alongside that come tactile and proprioceptive input, language practice through pretend play, and a low-demand activity many children find calming. What they do not get automatically is a better pencil grip, which needs specific scaffolding.
What are the benefits of playing in the sand?
The main benefits are repeated resistive hand work, sustained attention on an open-ended task, sensory input that many children find regulating, and social negotiation when two children share a tray. Benefits depend heavily on the material: dry sand trains pouring and tracking, moldable sand trains pressing and precision release, and neither replaces targeted therapy.