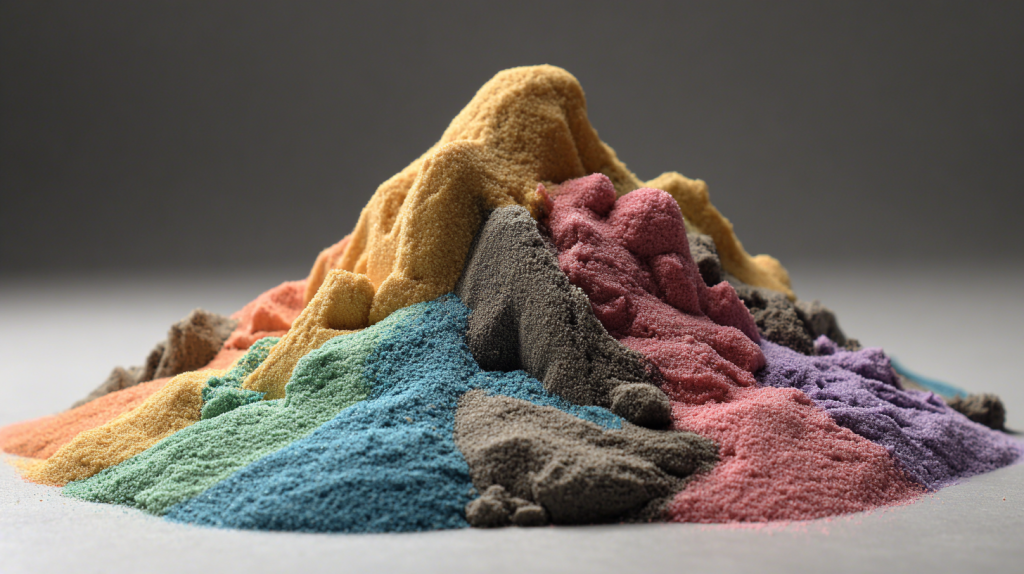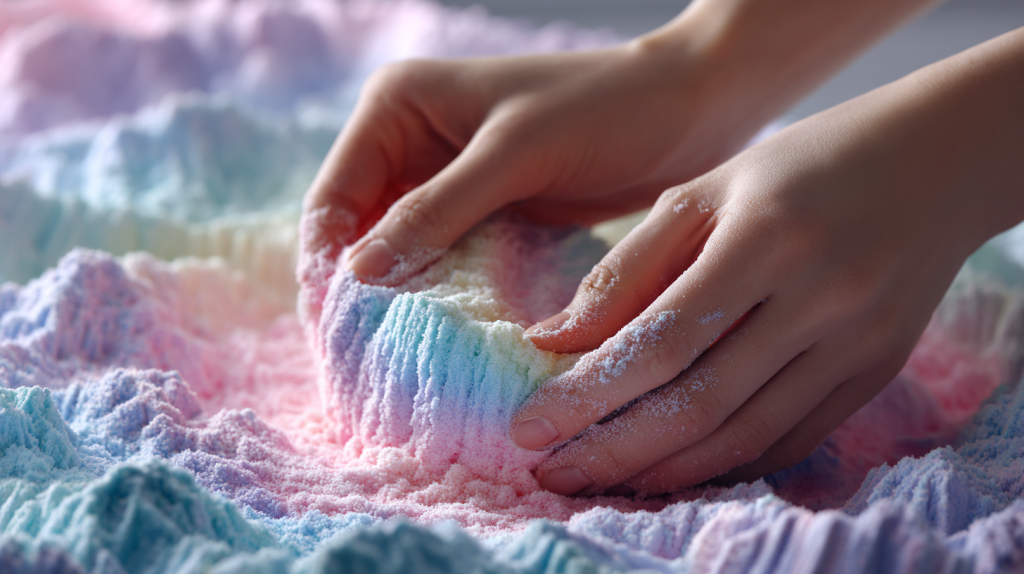
When it comes to kinetic sand mixing colors, one simple rule stands above all: Once you’ve mixed them, you can’t separate them back into their original shades. This may sound limiting at first, but it’s actually a creative superpower waiting to be unleashed. By embracing this reality, you can unlock endless color possibilities—if you go in with intention, curiosity, and a little prep.
Let’s dive into how to mix kinetic sand colors gracefully and avoid ending up with “muddy disaster.”
From first touch, kinetic sand captivates us with its satisfyingly squishy feel and stretchy consistency. When color gets involved, the visual delight doubles. Mixing kinetic sand colors invites playful exploration and sensory joy—but there’s no going back once your palette blends. As one expert reviewer bluntly puts it:
That’s the foundation we build on: you mix, you create—but you can’t unmix. So instead, we prepare to succeed.
A foolproof way to keep your kinetic sand colors vibrant is to adopt the 3:1 ratio approach. Use three parts main color and one part accent color. This keeps the dominant hue intact while introducing beautiful shading.
Test on a tiny batch first! Drop 30 grams of two colors side by side, fold gently, observe—then knead to see full blend.
How you mix colors matters just as much as what you mix.
Fold different colored sand gently, like layering fabric. This preserves swirl patterns and marbled effects—perfect for art, photos, or limited playtime. But don’t overhandle, or the effect disappears.
For a consolidated new color, knead until your sand is uniform. This is truly mixing, and by this stage, reversal isn’t possible. Always fold first to preview the outcome, then knead only if you’re happy with the transition.

Even a playful experiment can go off-track, but knowing what to check helps:
| Problem | Cause | Fix It |
|---|---|---|
| Sticky or Gunky Sand | Too much moisture or oil | Air dry; add dry sand to rebalance |
| Dull, “Dirty” Color | Competing pigments or overmixing | Add white/light sand to brighten |
| Dry or Crumbly Sand | Loss of binder or hydration | Mist with water or glycerin, knead gently |
Keep sand sealed in airtight containers between uses to maintain texture—and use one color at a time to reduce cross-contamination.
You’re not limited to uniform mixes. Turn kinetic sand into a canvas:
These techniques bring a whole new dimension to kinetic sand mixing colors—a fusion of craft and discovery.
A tidy play routine prevents your mix from becoming a mess:
Think of it as respecting your palette—your sand stays vibrant, tactile, and ready for the next masterpiece.

Kinetic sand is mostly ultra-fine sand (98%) mixed with a bit of oil (2%)—it’s intriguing by nature
IBIZA Sand. But if you’re coloring uncolored sand at home, choose safe ingredients:
When colors dull or batches go rogue, repurpose rather than discard—use as substrate for sensory trays, sculptural layers, or craft bases.
The art of kinetic sand mixing colors is about intentional creativity, not chaos. Mixing opens doors to imagination, not confusion—if you’re thoughtful about textures, ratios, methods, and upkeep. With the tips above, you’re set to create stunning mixes, subtle gradients, and memorable sensory moments—all without dreaded “muddy mess” outcomes. Mix boldly, play smart, and let your color story emerge one grain at a time.
For any questions or quotes about our Sensory Sands!