
Are you looking for a fun DIY project to do with your kids or just a cool science experiment to try at home? Look no further than making your own magic sand! Magic sand, also known as hydrophobic sand, is regular sand coated with a waterproofing substance that makes it resistant to water. When magic sand is submerged in water, it repels the water and looks dry, making it a great way to demonstrate hydrophobic properties. In this article, we’ll provide a step-by-step guide on how to make magic sand at home.
Making magic sand is a fun and engaging DIY project that can be done at home with just a few materials. Magic diy kinetic sand, also known as hydrophobic or kinetic sand either, is regular sand coated with a waterproofing substance that makes it resistant to water. When magic sand is submerged in water, it repels the water and looks dry, making it a great way to show ideas and demonstrate hydrophobic properties.
To make magic sand at home, you will need some materials such as regular sand, a waterproofing substance (such as silicone spray or wax), a container to hold the moldable sand, gloves, and a face mask. The first step is to coat the moldable sand with a waterproofing substance. This can be done by placing the homemade kinetic sand in a container and spraying it with a hydrophobic substance, such as silicone spray or wax. Make sure to wear gloves and a face mask when doing this to avoid inhaling the substance or getting it on your skin.
What is Magic Sand?
Magic sand is regular sand that has been coated with a hydrophobic substance, such as silicone, oil or wax. This coating makes the sand resistant to water and prevents it from getting wet. When magic sand is submerged in water, it repels the water and looks dry, making it a great way to demonstrate hydrophobic properties.
Materials Needed
To make magic sand at home, you will need the following materials:
- Regular sand
- Waterproofing substance (such as silicone spray or wax)
- Container to hold the sand
- Gloves
- Face mask
To make magic play sand, you will need a few materials that can be easily found at home or at a local store. The first material that you will need is regular sand. The kinetic sand can be collected from a nearby beach, or playground, or bought at a store. It is important to note that the type of sand used affects the outcome of the magic play sand made. It is recommended to use fine-grain sand for better results.
The next material that you will need is a waterproofing substance. The substance can be any hydrophobic material such as oil such as olive oil silicone spray or wax. The waterproofing substance creates a barrier between the sand and water, preventing the water from getting into the spaces between the sand particles. This makes the sand resistant to water and creates the hydrophobic properties that magic sand is known for.
You will also need a container to hold the sand during the coating process. A plastic container with a lid works well for using plain sand for this purpose. The container should be a cup or serving size or large enough to hold the sand and allow for easy mixing of the sand and waterproofing substance. We used an older batch of Liquid Starch Slime that was starting to deteriorate and very very slowly mixed in a pinch at a time. Here are some more great sensory play ideas I am sure you kids will enjoy.
Step-by-Step Guide to Making Magic Sand
1. Coat Sand with a Waterproofing Substance
The first step in making magic sand is to coat the sand with a waterproofing substance. This can be done by placing all the ingredients for sand in a container and spraying it with a hydrophobic substance, such as silicone spray or wax. Make sure to wear gloves and a face mask when doing this to avoid inhaling the substance or getting it on your skin.
2. Dry Sand
Once the sand has been coated with the waterproofing substance, it needs to be dried. Spread the sand out on a flat surface and let it dry completely. This may take several hours or overnight.
3. Test Magic Sand
To test if the sand is now hydrophobic and has turned into magic sand, pour a small amount of water into the container and play with the colored sand around the mixing bowl. The water should bead up and roll off the sand, leaving it dry.
Science Behind Magic Sand
The science behind magic sand is based on the concept of hydrophobicity, which is the property of material sensory sand that repels water. When sand is coated with a hydrophobic substance, it becomes resistant to water and will repel it. This is because the hydrophobic substance creates a barrier between the sand and water, preventing the water from through kinetic sand and getting into the spaces between the sand particles.
Safety Precautions
When making magic sand, it is important to take safety precautions to avoid inhaling or getting the hydrophobic substance on your skin. Wear gloves and a face mask when spraying the sand with the substance, and make sure to work in a well-ventilated area.
Tips and Tricks
- Use a waterproofing substance that is safe for children to handle
- Use fine-grain sand for better results
- Experiment with different coatings to see how they affect the sand’s properties
Add Color to Your Soapy Water Solution
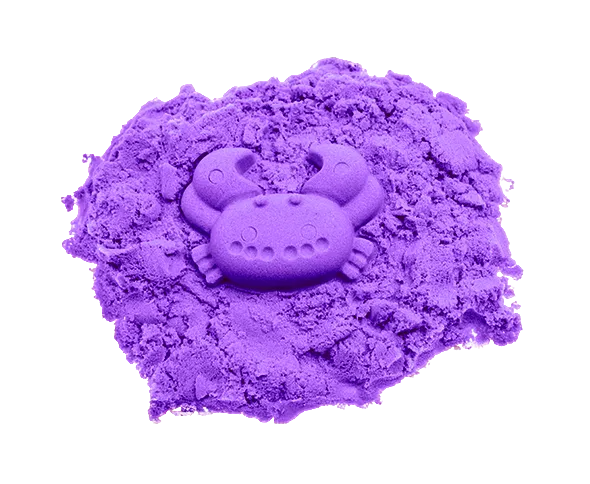
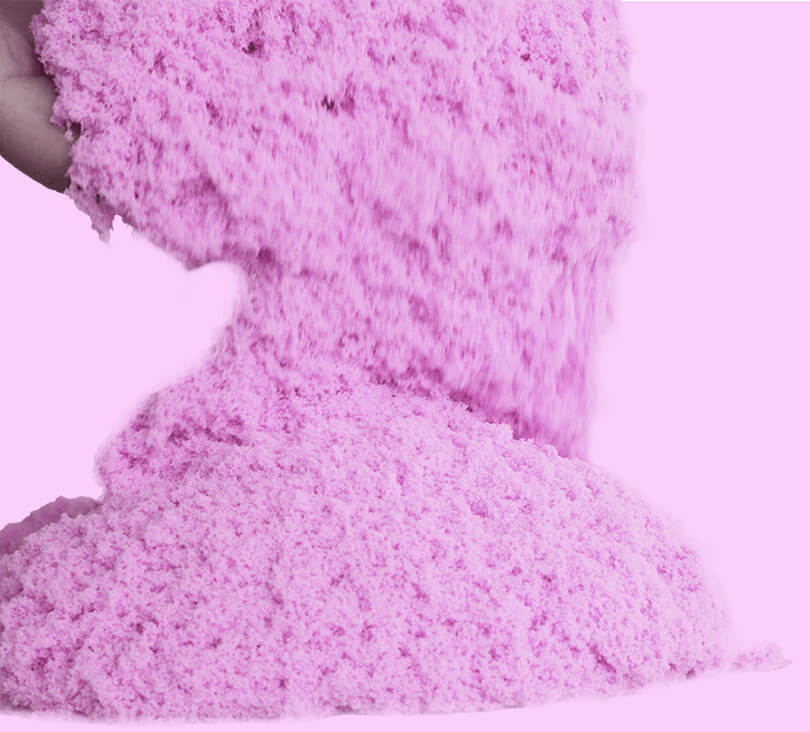
Add six drops of color in a large bowl with the water solution. We incorporated red or blue foods to the bowl to produce purple kinetic sand. The darker the soapy water solution, the brighter you’ll see. It requires more food coloring than it should. Depending on the texture, if you decide to add food coloring later, it may occur during mixing in the kinetic sand itself.
Adding color to your soapy water solution can make cleaning and dishwashing more enjoyable and fun. You can use food coloring or a specialized dish soap colorant to add color to different colors in your soapy water solution. Adding color to your soapy water dish soap solution can also help you see where you have already cleaned, making it easier to ensure you are getting all areas cleaned.
If you choose to use food coloring, start the mixing bowl out with just a few drops and mix well. Add more if necessary until you reach your desired color. Keep in mind that mixing some colors may stain surfaces, so it is important to use caution and test on a small area before using. Follow the steps and make kinetic sand at home.
Specialized soap colorants are also available for purchase at many stores. These colorants are specifically designed for use in soaps and other cleaning products, making them a safe and reliable option. Simply follow the instructions on the packaging to add the colorant to your soapy water solution.
Conclusion
Making magic sand is a great idea for a fun and easy DIY project that can be done at home with just a few materials. By following the steps outlined in this guide, you can create your own hydrophobic sand and demonstrate the science behind hydrophobicity. Remember to take safety precautions when working with the hydrophobic substance, and have fun experimenting and playing with different coatings and types of sand.
Magicsandfactory.com offers the best magic sand product on the market, with a high-quality waterproofing substance that creates the same texture and perfect hydrophobic properties for your DIY projects.
Our magic sand is made from fine-grain sand that is evenly coated with our specialized waterproofing substance, ensuring consistent and impressive results every time you play. Buy our magic sand product today and experience the wonder of hydrophobic sand for yourself!
Frequently Asked Questions – How to Make Magic Sand
Is magic sand safe for children?
While playing with magic sand can be a fun and educational activity for children, it is important to make sure that they are supervised and follow safety precautions. Make sure to use a waterproofing substance or glue that is safe for small children to handle, and always wear gloves and a face mask when working with the substance.
Can I use any type of sand for making magic sand?
While you can use any type or consistency of sand to make magic sand, it is recommended to use a fine-grain sand for better results. Coarse sand may not coat as evenly with the waterproofing substance and may not be as effective as colorful sand at repelling water.
How long does magic sand last?
Magic sand can last for several months if it is kept dry and away from water. However, over time the waterproofing substance of moon sand may wear off and the moon sand may lose its hydrophobic properties.
Can I reuse magic sand?
Yes, you can reuse magic sand as long as it has not been contaminated with water or other substances. To reuse magic sand, simply let it dry completely and store it in an airtight container or a dry container.
How can I dispose of magic sand?
To dispose of magic sand, let it dry completely and then dispose of it in the trash. Do not pour magic sand down the drain or pour it into water sources as it may clog pipes or harm aquatic life.
Can you make your own magic sand?
This kinetic Sand recipe requires 5:3:1. It’s easy to make an accurate balance using measuring cups or small scoops and cups. This perfect recipe is 6 parts sand, 3 parts cornstarch (you may substitute flour for this) and 1 part olive oil.
What is 2-ingredient magic sand?
Easy Moon Sand Recipe. 1/4 cup of oil per cup or pound of flour. To fill the box, we used eight cups of flour and one cup of baby oil. Mixing the two together is essential in breaking down all the baby oil balls. When the product is no longer needed, we place it inside breathable storage bags.