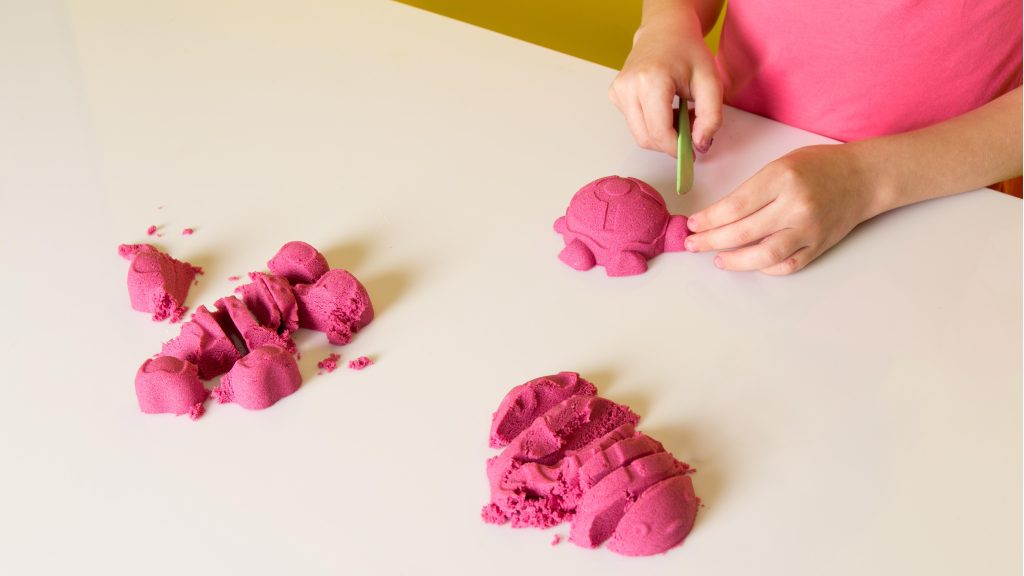
There’s something magical about playing with kinetic sand. That smooth, slow-moving texture—like wet beach sand without the mess—is satisfying for both kids and adults. But what happens when your favorite sensory sand becomes stiff, crumbly, or way too sticky? Don’t panic. This guide breaks down exactly how to make kinetic sand soft again using five simple, proven methods you can try at home.
Kinetic sand is made of 98% fine sand and 2% silicone-based polymer, which gives it that moldable, doughy texture. Unlike typical sand, kinetic sand is sensitive to the humidity and temperature of your environment. If your room is very dry, it might start to feel stiff or gritty. On the flip side, a super humid space can make it feel sticky or clump together.
This is because kinetic sand is hygroscopic—meaning it absorbs and releases moisture from the air. So, it never truly “dries out” like clay or playdough. Instead, it adjusts itself based on its surroundings. If it’s been sitting out in a hot, dry room, you might find it harder to mold. If it’s left in a bathroom or damp basement? It may feel squishy and overly wet.
That’s a common myth. Kinetic sand doesn’t expire or dry out completely unless it’s contaminated or exposed to extreme conditions. What you’re feeling is likely just a change in moisture balance, and luckily, that’s easy to fix. Now let’s dive into the first method.

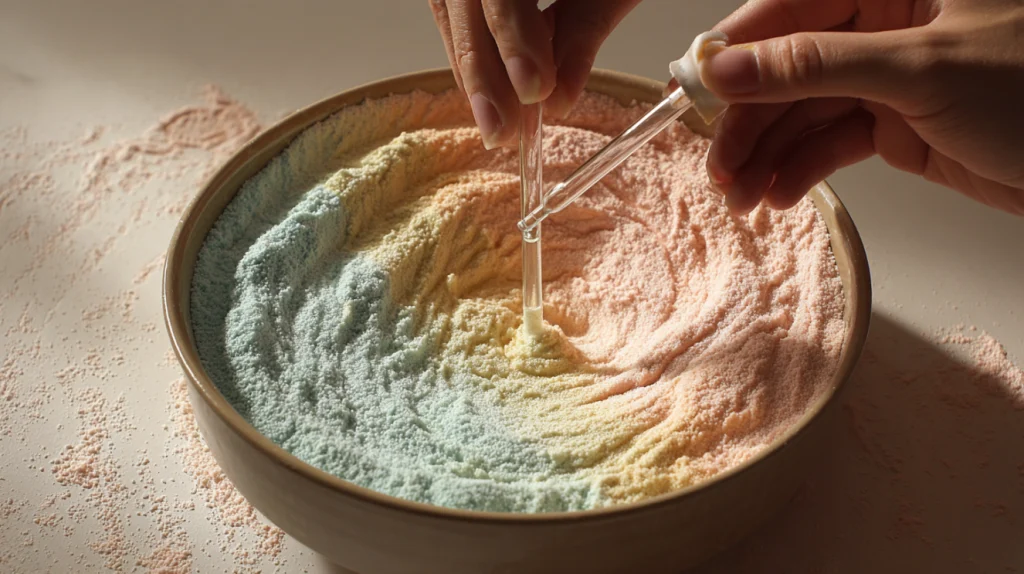
If your kinetic sand feels dry or crumbly, this is the easiest fix. You’ll need a few simple tools:
Follow these steps:
Don’t pour water directly from a cup or bottle. Kinetic sand is not designed to handle large amounts of moisture all at once. Start small—you can always add more, but if you go overboard, you’ll have to air-dry it (more on that later). The key is gradual rehydration.
Try this method first whenever your kinetic sand starts feeling tired or too dusty. It works like a charm in most cases.

Sometimes the problem isn’t dryness—it’s too much moisture. If your kinetic sand feels slimy, sticky, or leaves residue on your hands, it’s probably absorbed too much humidity. The fix? Air it out.
Lay the sand on a paper towel, parchment paper, or clean baking sheet, spreading it out as thinly as possible. Avoid metal trays (they can retain heat or moisture). Keep it in a dry, well-ventilated room—not in the sun or near heaters.
The air-drying process usually takes anywhere from 15 minutes to a few hours, depending on how saturated it is. Stirring it gently every 10–15 minutes can help speed up the process and ensure it dries evenly.
You’ll know it’s back to normal when:
Once dry, store it properly to avoid the same issue recurring.
Kinetic sand is happiest in a room with about 60% relative humidity. You can check your room’s humidity using a digital hygrometer (they’re cheap and available online or at hardware stores). If your space is too dry or too damp, it will affect the texture of your sand.
This step is often overlooked but super important if you want your sand to stay soft over time.
Overusing humidity tools can also backfire. Too much moisture can lead to mold or clumping, and too little can make it dry and tough to mold. The goal is balance—not extremes. You want your storage area to mimic ideal “room temperature and humidity.”
Believe it or not, your container might be part of the problem. Over time, even airtight containers can collect dust, debris, or develop uneven moisture zones. If your sand has been untouched for weeks, the top may be dry while the bottom is moist.
Take your sand out and give it a full-body massage—literally. Break apart any clumps, rotate the layers, and mix it like you’re kneading dough. You can even use a silicone spatula or gloved hands to avoid skin oils affecting the texture.
If your container smells musty, is cracked, or looks cloudy, it’s time for a new one. Choose a clear, airtight plastic container or a glass jar with a locking lid. Label it and store it somewhere dry and cool.

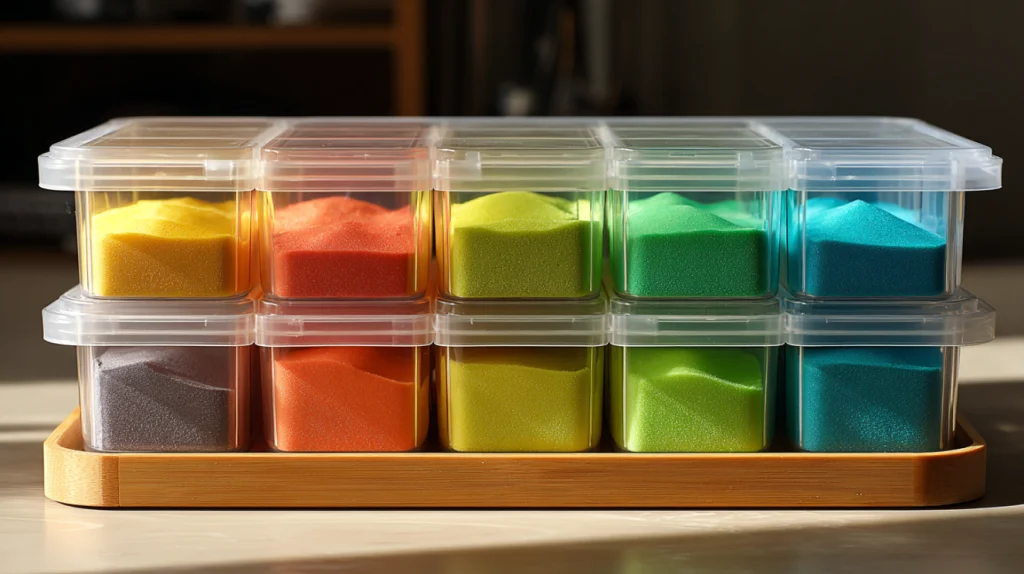
Storing kinetic sand properly is crucial to keeping it soft and playable for the long haul. Use airtight containers—preferably with silicone seals—to prevent air and moisture from sneaking in. Plastic bins with snap lids, mason jars with rubber gaskets, or even resealable freezer bags can work well. The key is a tight seal.
If you’re dealing with multiple colors or batches, store them separately. Kinetic sand tends to blend easily, and once colors mix, there’s no going back. Transparent containers are ideal because they let you visually inspect the sand without opening the lid and risking moisture exposure.
In humid regions, add silica gel packs or a small moisture absorber (like DampRid) to the storage container to prevent stickiness. Be sure to keep these out of reach of children—they’re not toys.
If you live in a dry climate, you may want to periodically open the container and add a single drop of water every few weeks to maintain the sand’s texture.
Also, never store kinetic sand near windows or in direct sunlight. UV rays can dry out the sand and degrade its polymer structure, affecting both feel and color.
Here’s a quick tip: if your environment is unstable—hot in the day and cold at night—consider using both a digital hygrometer and mini desiccant packs to maintain a consistent environment inside your container. This combo helps avoid those frustrating texture surprises.
Think of your storage like a mini spa for your sand: calm, cool, and balanced.
The kinetic sand community is filled with creative folks who have come up with some unconventional, yet effective, ways to restore and maintain their sand. Here are some tried-and-true hacks shared across parenting forums, YouTube, and DIY groups:
One parent shared how their child’s kinetic sand became rock-solid after being left in an open bin for a week. Their fix? They added three drops of water, mixed it in a sandwich bag, and let it rest overnight. The next day? Like new.
These hacks prove that a little creativity can go a long way when saving your kinetic sand.

| Problem | Cause | Fix |
|---|---|---|
| Sand feels dry & gritty | Low humidity or prolonged storage | Add a few drops of water, mix thoroughly |
| Sand feels sticky/slimy | Too much moisture or humid room | Air dry on paper towels |
| Clumps or uneven texture | Uneven moisture distribution | Break apart, mix well, change container |
| Loses color/vibrancy | UV exposure or old age | Store in dark containers, avoid sunlight |
| Sand smells off | Mold or contamination | Replace or clean container, check moisture |
This table is a quick reference to help you diagnose and fix common kinetic sand issues without stress.
Q: Does kinetic sand ever fully dry out?
A: Not exactly. Kinetic sand doesn’t “dry out” like modeling clay or slime. It’s hygroscopic, so it adjusts based on the moisture in the air. If it feels too dry or crumbly, it can be revived with a few drops of water. If it’s too wet, air drying usually brings it back to normal.
Q: Is it safe to add water to kinetic sand?
A: Yes, as long as you’re careful. Just a few drops are enough. Overwatering can make the sand gooey, which then requires air drying. Always add water gradually and mix thoroughly after each drop.
Q: How long does it take to air-dry sticky kinetic sand?
A: Typically between 15 minutes to 2 hours, depending on how wet it is and your room’s humidity. Spread it out evenly and stir occasionally to speed things up.
Q: Can I microwave kinetic sand to fix it?
A: No! Microwaving kinetic sand is a bad idea. It can alter the polymers, damage the texture, and potentially melt your container. Always use natural air drying or adjust the moisture with water.
Q: How often should I refresh or check my kinetic sand?
A: Every few weeks is a good rule of thumb—especially if it hasn’t been used in a while. Just open the container, give it a little mix, and check for any texture changes. Prevention is easier than fixing major issues.
Kinetic sand is one of the most satisfying sensory tools out there—but only if it stays soft and pliable. Whether it’s gone stiff, sticky, or just isn’t molding like it used to, you now have a toolbox of proven methods to bring it back to life. Add a few drops of water, air it out, control the environment, store it like a pro, and mix thoroughly—these tips work wonders.
And don’t forget to check out those community tricks. Sometimes, the best hacks come from fellow parents, teachers, and sensory lovers.
Your kinetic sand deserves to feel brand new every time you use it. Follow these steps, and it will.
For any questions or quotes about our Sensory Sands!