

Commercial kinetic sand is fine sand coated with an extremely thin film of silicone-based polymer, commonly cited as roughly 98% sand and 2% polymer by weight. The manufacturing process is almost entirely about applying that small percentage evenly: selecting and drying the grains, preparing the surface, blending the polymer in under controlled heat and shear, then resting and testing the batch until the sand holds a shape without sticking to skin. Every step below exists to serve that one thin film, which is why a plant can follow the same ratio as its competitor and still produce a completely different material.
Key takeaways
- Most quality failures are set before blending starts: grain size distribution, grain shape, residual moisture and surface cleanliness decide whether the polymer coats evenly.
- The polymer must be dosed by weight, blended at controlled temperature and low shear, then rested and checked for cohesion, flow, transfer, dust and odour before packing.
- Sand clings to itself because compliant silicone films form many weak bridges at grain contacts; it releases from skin and trays because the low-energy film does not wet them.
- Cornstarch and flour recipes produce moon sand, a different material with a shorter life and no practical way to clean it after classroom handling.
What Kinetic Sand Is Actually Made Of
The composition figure you will see quoted most often is simple: about 98% sand and 2% polymer by weight, with the polymer typically polydimethylsiloxane (PDMS), a silicone oil. PDMS is popular for good reasons. It stays slippery across a wide temperature range, it does not go rancid like a plant oil would, and it wets mineral surfaces without needing a solvent to carry it.
Two percent sounds like a rounding error until you think in surface area. A single kilogram of fine sand contains an enormous number of grains, and a small mass of oil spread across all of them stops behaving like a filler in the gaps and starts behaving like a film. That is the mental shift worth making: the recipe is trivially easy to copy, and the coverage is the hard part. Two plants running the same 98/2 split can ship products that feel nothing alike.
Not every formulation starts with silica sand
Some products swap the sand for round glass microspheres. Ibiza magic sand is built on round, smooth glass beads combined with beeswax and organic silicone, and the company holds patent certifications around its glass microsphere technology. Spherical grains change both the hand feel and the cohesion behaviour: they roll against each other instead of interlocking, which is where the dense, slow-flowing, sliceable quality comes from. If you want the grain-level detail, there is a fuller comparison of glass beads versus silica sand in moldable play sand.
Treat 98/2 as a reference point, not a universal recipe. Ratios move with grain type, target grade and the feel the brand is chasing, so a stated percentage tells you the ballpark and nothing more.
Odourless is a process signal, not a slogan
Magic Sand is described as odourless, and that description is more useful than it looks. A silicone coating applied cleanly has almost nothing volatile left in it. When a batch smells, the usual suspects are residual solvent from the carrier or an oxidized, rancid oil that was substituted to cut cost. Smell is one of the cheapest process audits a buyer can perform in the room.
Step 1: Grading the Sand and Preparing Its Surface
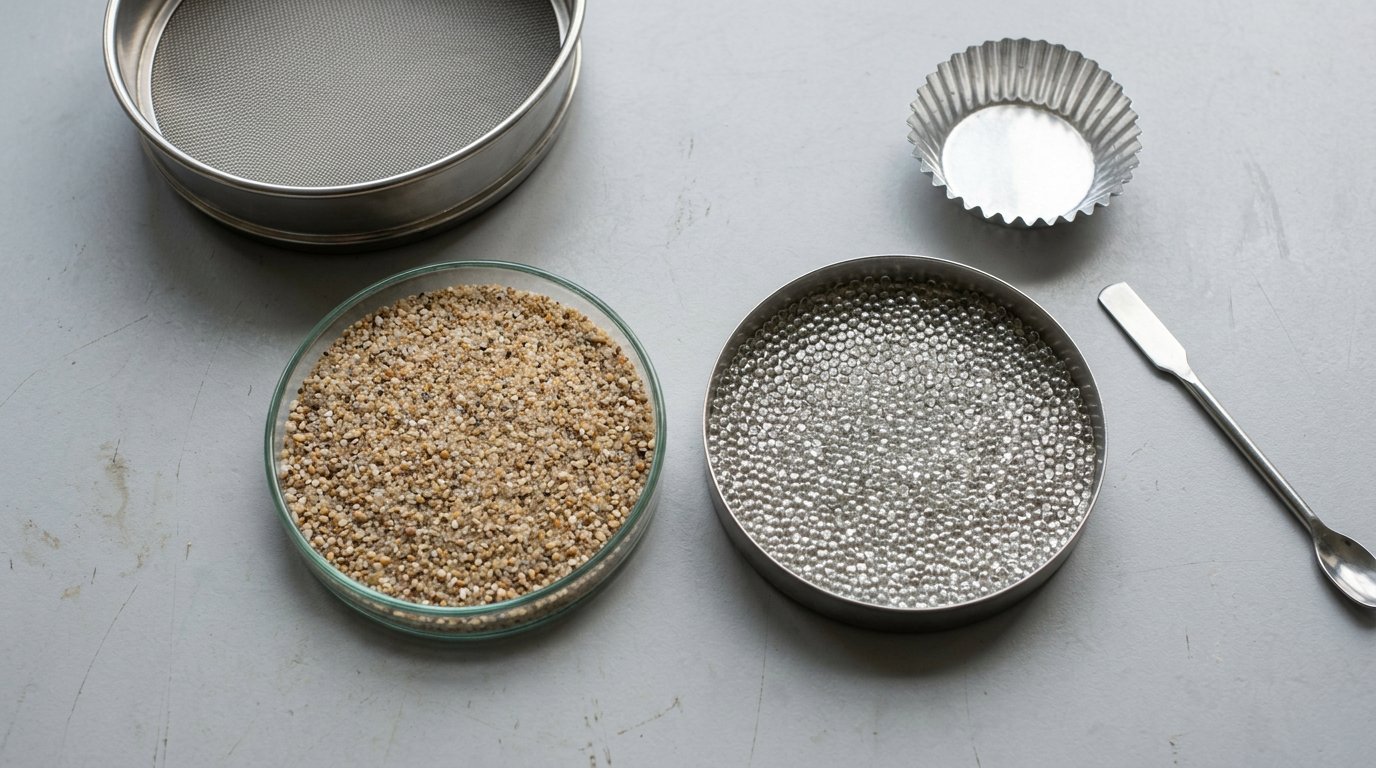
- Grain size distribution is engineered, not incidental. Get the grain wrong and no amount of careful mixing will rescue the batch. A wide spread of sizes lets small grains pack into the gaps between large ones, and the mix stiffens into something that feels like damp concrete. Push too far the other way, with a very narrow distribution, and the sand loses body and feels thin. The target sits between the two, tight enough to flow and broad enough to have substance.
- Shape decides the feel. Round, smooth grains roll over one another, producing the slow flow and clean cut edge that people associate with the commercial product. Angular grains interlock, which raises friction and gives a grittier, more abrasive material that also wears on skin.
- Drying is a coating prerequisite. Raw sand arrives with moisture. Water sitting on the grain surface competes with the silicone for the same real estate, and the film lands patchily. Patchy coverage does not announce itself at the mixer; it shows up weeks later as dry pockets in the middle of a bag.
- Sieving and dedusting remove the fines. The fine fraction is what produces haze in the tray, dusty hands and airborne particulate during vigorous play. Removing it is a hygiene measure as much as a texture measure.
- Surface preparation sets the energy of the grain. The goal is a clean, dry, receptive surface so the polymer wets it rather than beading on it. Think in coverage percentage rather than ingredient quantity: the useful question is how much of each grain is actually filmed.
Hydrophobic behaviour lives here, at the surface-energy level. A grain that has been treated well refuses water because the film presents a low-energy face to it, which is also why the material does not turn into a wet slurry when a child has damp hands.
Step 2: Blending the Polymer In Without Over-Working It
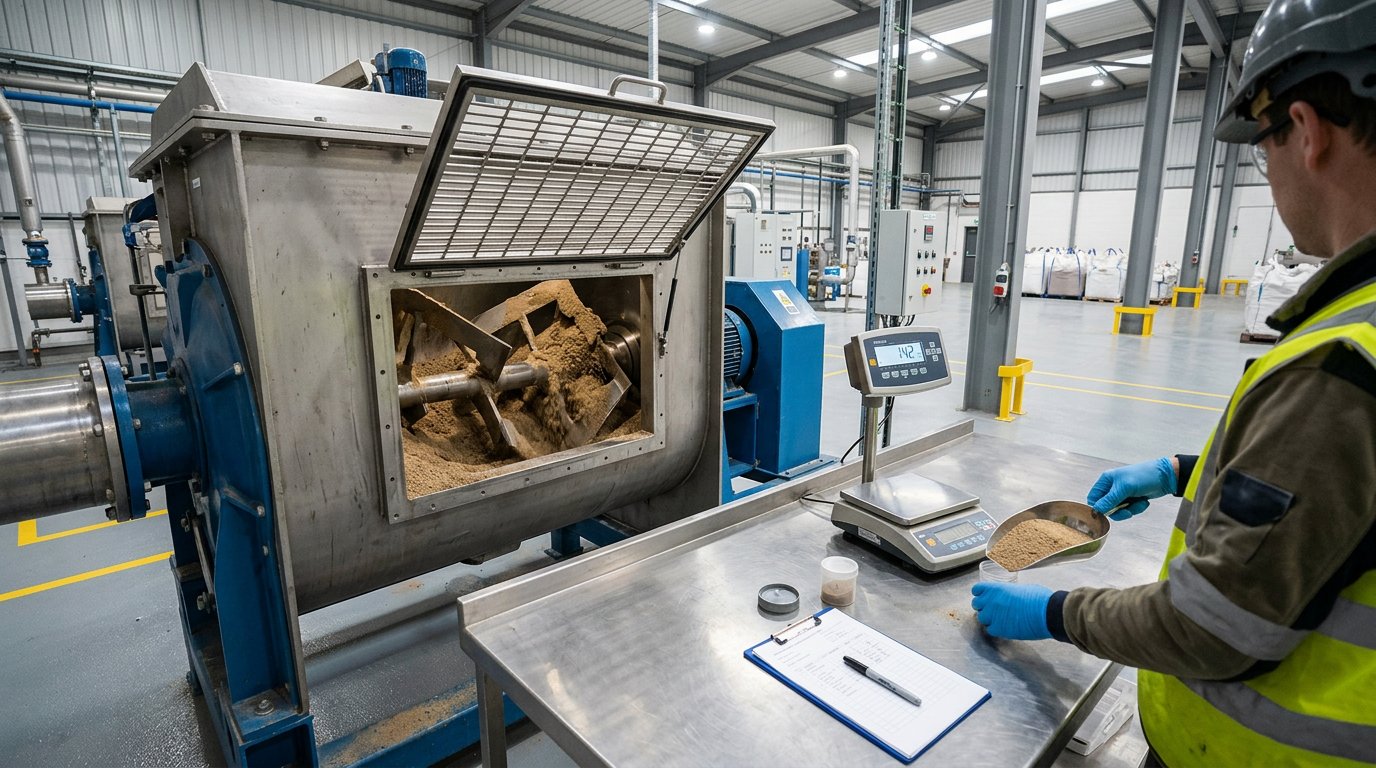
This is where a good formulation is either spread thin and even, or ruined. Four variables do most of the work.
Dose by weight, never by eye
The polymer is measured against the weighed sand mass, not judged by how wet the pile looks. The target is a film thickness, and film thickness is invisible from the outside of a mixer. Operators who dose by feel drift over a shift.
Control the temperature
Silicone viscosity falls as it warms. A mix that coats cleanly at one temperature can pool and clump at another, and the difference between those two states may only be a few degrees plus the heat the mixer itself adds. Temperature is a variable to hold steady, not a setting you look up once.
Stage the addition
Dumping the full charge in at once gives you wet grains sitting in a puddle of oil. Splitting it works better: part of the polymer first to wet the surface, mixing time to let that spread, then the remainder to build the film to target thickness.
Keep shear low
High shear is the enemy of this product. It generates heat, drives fines into hard agglomerates, and can physically wear the coating back off the grains. Low-shear tumbling or gentle paddle mixing spreads the film while leaving the grains intact. Ten more minutes of the right mixing beats one minute of the wrong kind.
Judge the endpoint by hand and eye
A finished batch has no dry patches and no oily sheen. Tilted, the grains separate and slide; pressed, they cling. Under-mixed sand sheds dust and refuses to hold; over-mixed sand feels greasy and smears. The exact temperatures, cycle times and equipment a given plant runs are process know-how and are not published anywhere. Anyone quoting you a specific setpoint for a specific machine is guessing.
Step 3: Resting, Aeration and the Batch Checks Before Packing
Freshly blended sand is not finished sand. The film still has to settle, and the batch has to prove itself before it goes anywhere near a bag.
- Equilibration. A resting period lets the silicone film migrate and distribute across the grain surfaces. Pack too soon and the material reads wet at the top of the bag and dry at the bottom, which is a complaint that lands on the retailer rather than the plant.
- Gentle aeration and tumbling. Blending creates soft agglomerates. A low-energy pass breaks them up and restores the free-flowing, sliceable structure.
- Cohesion check. Squeeze a handful, release, and look at whether the mass keeps its form. This single test catches most dose errors.
- Flow check. Pour slowly from a scoop and watch whether the material falls as a soft ribbon or drops as a crumbling cascade.
- Transfer checks. Rub a sample on skin, then on dark fabric. Pigment or oil showing up on either is a fail.
- Dust and odour. Both are quick, unglamorous, and both correlate with problems earlier in the line.
- Sampling and traceability. A test result means nothing unless it maps back to a specific production lot. Retained samples are what turn a quality claim into something checkable months later.
None of this is exotic. It is the difference between a plant that discovers a bad batch at packing and one that discovers it in a child’s tray. The company behind Magic Sand has pushed through 20+ product upgrades, and refinements at this stage are typically where that kind of iteration lands. For the broader systems view, the post on what quality control actually looks like in moldable sand manufacturing covers the framework in more depth.
Why the Grains Cling to Each Other but Not to Your Hands
The silicone film is softer and more compliant than the grain underneath it, and that one property accounts for everything you have noticed in the tray. Where two grains touch, their films meet and form a small bridge that resists being pulled apart. That resistance is cohesion, and it is what lets a moulded castle stand up. The bridges are weak individually and enormous in number, which produces a very particular behaviour: press the mass and you create more contact points, so it holds; leave it alone and it slowly slumps, which is why a cut edge rounds off overnight and why a tower leans by morning.
Adhesion, by contrast, is selective. Skin, plastic trays and most fabric present surfaces that the low-energy film does not readily wet, so the sand releases instead of smearing. The same property keeps it off carpet fibres and out of the seams of a play table. A material that sticks to itself but not to the room is the entire design brief, and the coating is how it is met.
This explains the classic failures
Too little film and the grains have nothing to bridge with, so the batch crumbles and will not hold a shape. Too much and the bridges become a continuous sticky layer that transfers to hands and leaves a shine on the tray. Dust and contamination work differently again: a non-coated particle inserted between two grains blocks the bridge at that point, which is why a handful of craft glitter or a dropped biscuit crumb can change the feel of an entire tray.
Pigment bonding is a separate chemistry question, covered in the post on how colour pigments are bonded to sand without transferring onto hands or fabric. Colour and cohesion are engineered independently, which is why a well-made coloured sand does not stain and a badly made one does both badly. Magic Sand itself is described as crafted from glass beads using environmentally friendly materials, with the film doing the mechanical work and the pigment chemistry doing the visual work.
DIY Recipes Make Moon Sand, Not Kinetic Sand
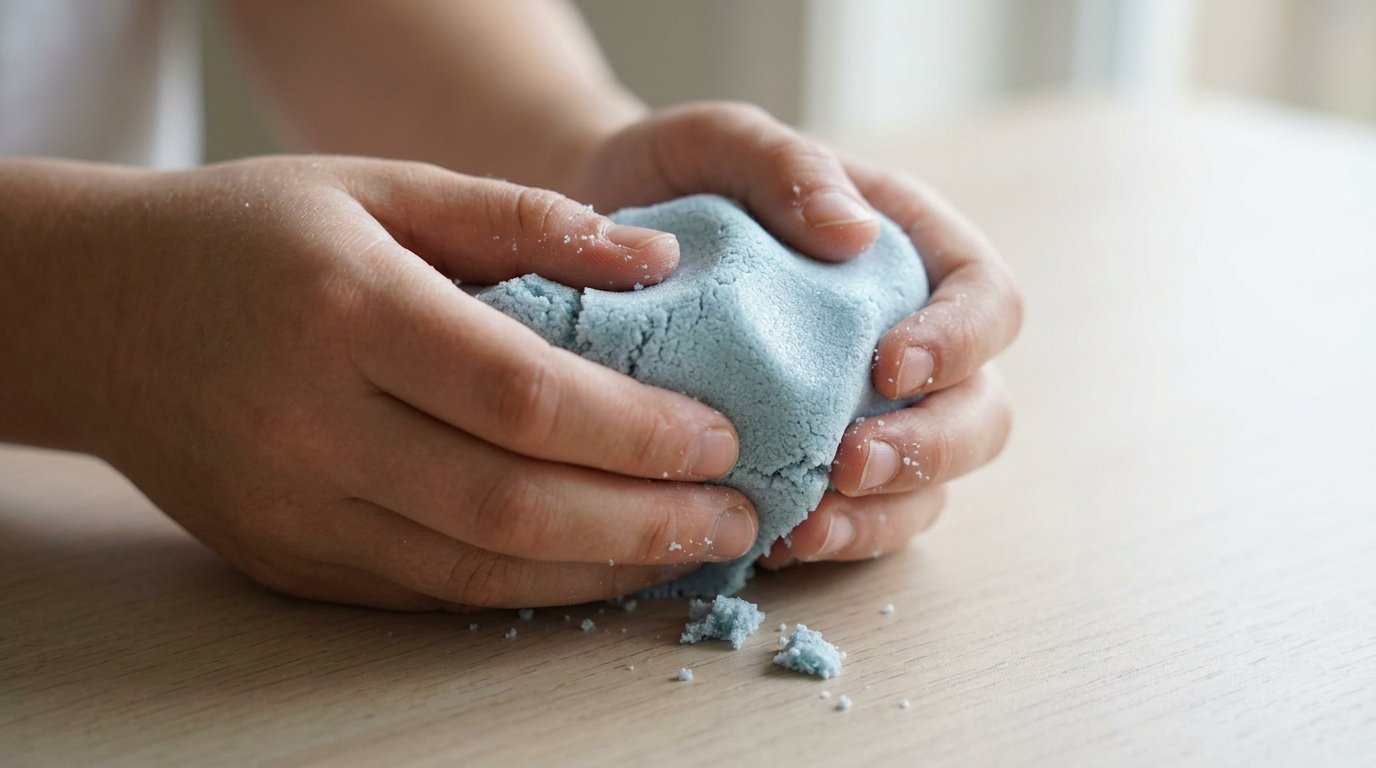
The recipes ranking for this question are cornstarch or flour plus oil, sometimes with dish soap and water. They work, in the sense that the result is fun to squish. But the cohesive agent there is starch granules sticking through an oil film, not a silicone coating bonded to mineral grains, and the material that comes out is moon sand. The terms are related, not interchangeable.
The behavioural difference is easy to see once you have both in front of you. Moon sand presses into a lump but does not slice, does not hold a fine edge, and does not flow. It also takes on moisture from the air and from hands, which makes it clump and eventually sour. There is no practical way to clean a flour mixture a classroom has handled, which is the real argument against reuse rather than the texture.
Is it cheaper to make your own kinetic sand?
Per batch, yes. Over a term, no. A homemade mixture is a consumable you rebuy every session, and the material does not survive handling the way a coated sand does. A commercial product is a capital cost spread across months of reuse, so the honest comparison is cost per hour of play rather than cost per container. Prices vary too much by market to quote a figure that would mean anything to you.
How long will homemade kinetic sand last?
Days to a few weeks, depending on humidity and how well it is sealed. A coated sand keeps working until contamination or film loss forces replacement, which is a different and much slower clock. If you want the four materials set side by side, the comparison table above lays out composition, shape retention, drying behaviour and cleanliness, and the article on sand clay versus magic sand versus kinetic sand untangles the naming properly.

Storage and Revival: What the Coating Allows and What It Does Not
The coating is why this material outlasts every DIY substitute in a cupboard. There is no water in the system to evaporate, so ageing is not a drying problem at all. It is a contamination and film-loss problem, and those behave differently.
- Seal it, keep it cool, keep it out of direct sun. Heat cycles soften the film and encourage it to migrate. Dust, crumbs and glitter are the larger threat by far.
- Revival is mostly mechanical. Kneading the sand can bring the feel back temporarily by changing how grains contact one another. It does not replace silicone that has been lost, so it buys time rather than fixing anything.
- Know when to stop. Contamination, persistent odour, visible colour transfer, or sand that no longer bridges at all are not fixable at home. Retire the batch.
- Keep the container matched to the batch. Mixing two batches of different age into one box averages their behaviour and makes both harder to judge.
The full method, including container choices and humidity handling, lives in the guide to how to store magic sand so it does not dry out, harden or lose texture. What matters here is the principle: you are protecting a film, not topping up a liquid.
Is Kinetic Sand Safe for Kids? What a Test Report Actually Confirms
A test report confirms the tested sample against defined criteria. It does not confirm universal safety in every use, every age group, or every situation a child can invent.
Magic Sand is stated to comply with China 3C, SGS, ASTM and other international safety standards, and the company states it meets American and European safety standards, with 15+ certifications listed across its range. Those are manufacturer-stated compliance positions rather than independently verified results, and they are checkable against reports issued by the testing bodies themselves. A brand can state that it meets a standard; the report is the evidence.
- It is not edible. No play sand is. The relevant question is supervision and mouthing behaviour, not nutrition.
- Small moulded pieces are a choking hazard for children who still put objects in their mouths. That is a property of the shape, not the material.
- Fine dust from a degraded batch is worth avoiding. A crumbly, shedding batch has lost its film; replace it rather than mixing it back in.
- Age guidance is a supervision judgement. The logic: a child who mouths objects needs close supervision or a different material; a child who does not can be given more independence. Check the packaging and the current standard for your market, since thresholds and deadlines change and this article should not be your source for a number.
If you are matching a material to a specific child, the guide to choosing the right kinetic sand for a child’s age and sensory needs goes further into the practical side.
What to Do With This If You Are Choosing Sand for a Classroom or a Product Line
You now know more about this material than most people selling it. Here is how to use that.
- Ask three questions of any moldable sand. What is the grain? What is the coating? Which test report covers the specific batch I am buying? Vague answers to any of the three are the answer.
- For classrooms and therapy settings, weigh reusability and cleanability above unit cost. A cheaper material that fails after a week costs more in disruption, replacement and staff time than the saving ever returns. Occupational therapy and preschool use is brutal on sensory materials, and the coating is what determines whether the material survives a term.
- For product developers, treat the process variables in this article as specification levers. Grain size distribution, temperature control during blending, staged dosing and shear level are what set hand feel, cohesion and dust. Leaving them to a supplier default means you inherit whatever feel that supplier optimises for, which may not be yours.
- Read composition claims and test reports as two separate documents. Both are worth having. Only one is evidence.
Magic Sand has 10+ years of experience behind this material family, with 30 years of specialization in the R&D and manufacturing of glass beads behind the IBIZA side of the business and patented glass microsphere technology in the formulation. The company states its compliance positions, and those statements are checkable against independently issued reports rather than taken on faith. If you are working through the material side of a specification, whether for a classroom, a therapy programme or a product you are developing, ask for the composition sheet and the batch report and read them side by side.
Frequently asked questions
Can you make kinetic sand without sand?
No, not in the commercial sense. Recipes without sand use flour or cornstarch as the solid, which produces moon sand: a crumbly material held together by starch granules rather than a silicone film bonded to mineral grains. It presses into shape but will not slice, flow or hold a fine edge, and it takes on moisture from the air.
Why does kinetic sand stick to some hands but not others?
Warm, slightly damp hands soften the silicone film and let it wet the skin, so more of it transfers. Cold hands, dry hands and a well-made batch with even coating coverage release cleanly. If sand leaves a shine or a residue on most people who touch it, the batch is over-dosed rather than the hands being the problem.
Do you need heat to make kinetic sand?
Heat is a process control, not an ingredient. In manufacturing the blend is held at a controlled temperature because silicone viscosity changes with warmth, which affects how evenly the film spreads. There is no cooking step in the way a flour recipe implies. At home you cannot replicate the coating reliably, which is why pantry versions land closer to moon sand.
How long does a batch of commercial kinetic sand last?
There is no fixed lifespan, because ageing is driven by contamination and film loss rather than evaporation. Sealed and kept cool between sessions, a batch can stay usable for many months of normal play. Retire it when it develops a persistent smell, transfers colour, or no longer bridges at all when pressed.