

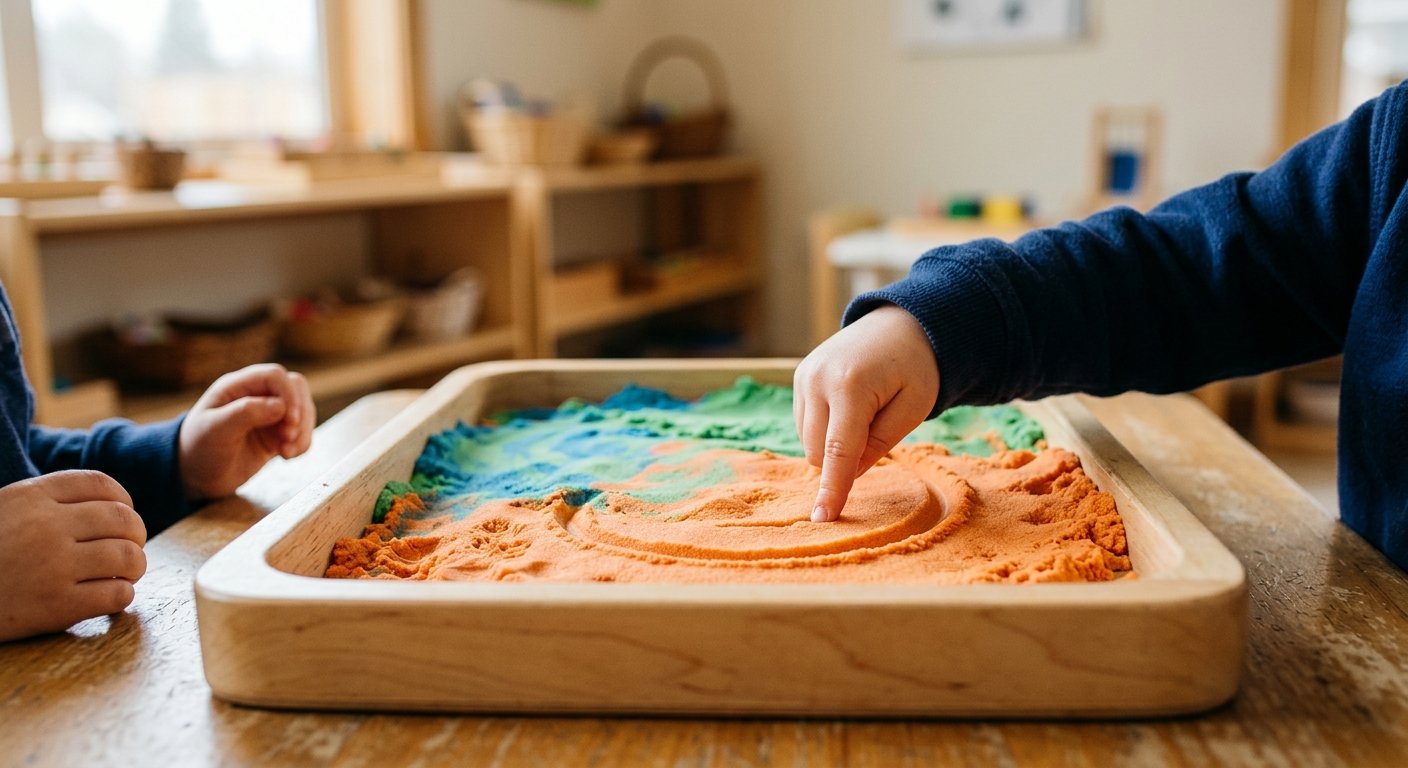
A Montessori sand tray works best when the material, depth, and tool choice are matched to a specific learning objective, whether that’s sensory exploration for toddlers or letter and number formation for kindergarteners. The tray itself is just a frame; what makes it ‘Montessori’ is the deliberate link between the activity and a developmental skill, and the sand’s texture needs to support that skill rather than fight it. Get the pairing wrong, say a deep bin of dry craft sand used for letter tracing, and the activity collapses into generic sensory play with none of the pre-writing payoff.
Key takeaways
- A Montessori sand tray is only effective when tray depth, tool, and sand material are chosen to match one named learning objective, not left as open-ended sensory play.
- Shallow sand (roughly 1-2 cm) in a lipped, dark-bottomed tray holds letter and number traces far better than deep sensory bins.
- Moldable, glass-bead-based sand resists collapsing during repeated tracing, while dry craft sand requires constant re-smoothing and produces more dust.
- Sequence activities by age: open scooping for toddlers, shape tracing for 3-4 year olds, letter/number tracing with sandpaper-letter correspondence for 4-5 year olds, and word/number formation with self-correction for 5-6 year olds.
- Covered storage, regular sieving, and odorless materials make it easier to catch contamination or spoilage before it affects a shared classroom tray.
What a Montessori Sand Tray Is Actually For
Montessori practical life activities are built around isolating one skill at a time. Pouring work isolates hand control. Polishing isolates care and sequence. A sand tray should do the same thing, not just offer a novel texture to poke at.
In a real Montessori sequence, sand tray work sits between two stages: the broad sensory exploration a toddler does with scooping and pouring, and the indirect writing preparation a preschooler does with sandpaper letters. The tray is the bridge. That means every tray activity should map back to a named objective, fine motor control, letter formation, number sequencing, or in some cases a calming focus task, rather than being set out as open-ended play.
Why this differs from a generic sensory bin
A generic sensory bin is designed around novelty: new textures, new objects, new colors. A Montessori tray is designed around repetition of a single skill until it’s internalized. If you can’t name what skill a tray is building, it isn’t functioning as a Montessori activity yet. It’s just a sensory bin with better branding.
What Are Some Montessori Sensory Activities That Lead Into Sand Tray Work?
Sand tray tracing doesn’t appear out of nowhere in a Montessori classroom. It’s the next step after a few earlier sensorial activities have already built the groundwork.
- Pouring, scooping, and sorting with rice or dried beans usually comes first, building basic hand control and container-to-container transfer.
- Texture discrimination work, comparing rough and smooth fabric swatches or wood pieces, trains fingers to notice surface differences before they’re asked to feel letter shapes.
- Sand trays then bridge that gross sensory exploration into fine motor pre-writing skills, where the goal shifts from exploring texture to controlling a single finger stroke.
- This progression is also covered in more depth in our preschool sensory sand station layout guide, so we won’t repeat the full classroom setup here.
Tray Setup: Size, Depth, and Material Considerations
Most sand tray advice online skips the actual physical setup, and that’s where a lot of activities quietly fail. Depth matters more than people assume.
- Keep sand shallow for tracing work, just enough to cover the tray bottom with a thin, even layer. Deep sand swallows letter shapes as soon as a finger lifts, which defeats the point of practicing a clean stroke.
- Choose a tray with a lip, whether wood or plastic, rather than a flat cookie sheet. Lips contain spillover during active tracing and let a child reset a letter without sand sliding off the surface.
- Dark tray bottoms increase contrast for letter and number tracing, since the line shows up clearly against the base. Light-colored trays work better for color or pattern-based activities where contrast isn’t the point.
- A removable insert tray speeds up cleanup and lets you swap materials between activities without washing the whole station.
Choosing the Right Sand: Moldable, Kinetic, Dry Craft, or Alternatives Like Rice and Salt
Material choice is the single most overlooked decision in sand tray setup, and it’s where most generic guides go quiet. Different sands behave completely differently under a tracing finger.
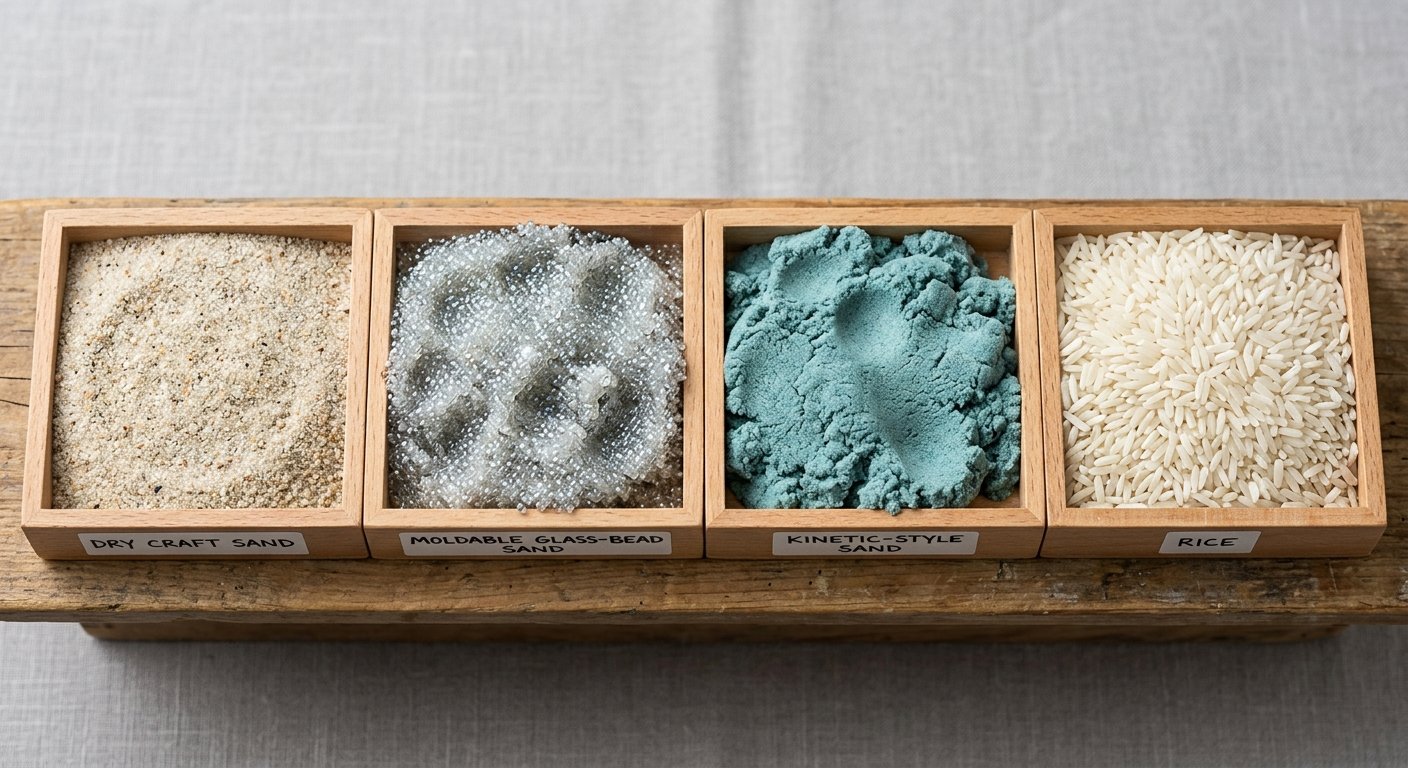
Dry craft sand is cheap and widely available, but it produces dust and collapses as soon as a finger drags through it, forcing constant re-smoothing between attempts. Moldable, glass-bead-based sand holds a clean trace line and resists collapsing, which matters a lot when a child is repeating the same letter stroke multiple times without a teacher smoothing it over each round. Ibiza magic sand’s ingredients are round and smooth glass beads, beeswax, and organic silicone, and the glass microsphere technology behind that texture is patented, which is part of why the line-holding behavior differs from ordinary sand.
Kinetic-style sand is composed of 98% sand and 2% polymer, typically polydimethylsiloxane (PDMS), a type of silicone oil. It’s moldable in a similar way but has a different texture and weight than glass-bead sand, worth testing with your own hands before committing a whole classroom set. Rice and salt trays are a low-cost toddler option but offer less tactile resistance for controlled strokes, and they carry their own choking and ingestion considerations that need separate supervision planning.
Match the material to the objective. Fine tracing control favors a sand that holds a line. Broad sensory exploration tolerates looser material just fine. For more on how these formulations differ at a chemistry level, see the chemistry behind kinetic sand’s flow and shape behavior and our breakdown of glass beads versus silica sand.
Why Sand Tray Tracing Supports Pre-Writing Skills
The reasoning behind sand tray tracing comes directly from Montessori’s sandpaper letters method, and it’s worth understanding the mechanism rather than just copying the activity.
Sandpaper letters build directional memory through touch before a pencil ever enters the picture. A child feels the stroke sequence with a fingertip, left to right, top to bottom, before being asked to reproduce it with a tool that leaves a permanent mark. Sand trays extend that same idea: a child can repeat the same letter stroke over and over without the pressure of a permanent error, which encourages experimentation rather than anxiety about getting it wrong.
The resistance the sand provides against a moving finger also gives proprioceptive feedback, a sense of where the hand is and how much pressure it’s applying, which reinforces the stroke sequence through feel, not just sight. It’s worth being clear that this is manufacturer-reported pedagogical reasoning drawn from established Montessori practice, not a clinical claim, and no sand tray activity guarantees a specific literacy outcome on its own.
What Are Some Examples of Montessori Sand Letters Activities?
Once a tray is set up correctly, the actual activities should be age-tagged rather than one-size-fits-all.
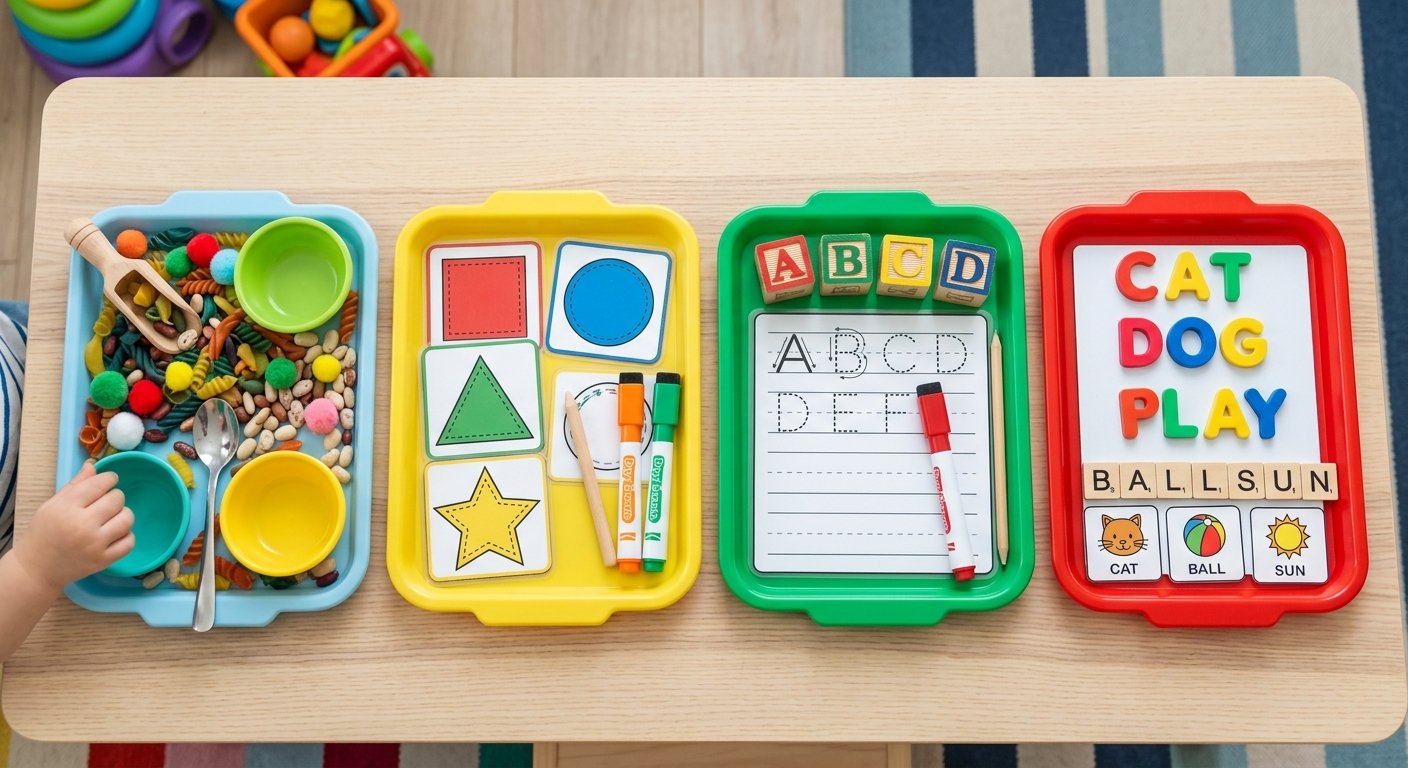
- Toddler stage: finger-drag lines and simple shapes, no letters yet, the goal is tool control, not literacy.
- Preschool stage: tracing a single sandpaper-letter shape copied directly into the tray, one letter at a time.
- Kindergarten stage: forming whole words or number sequences from memory, then self-checking the result against a reference card.
- Variation: once fine motor control improves, swap the finger for a stylus or small wooden tool to build pencil-grip readiness.
Age-Appropriate Sequencing From Toddler to Kindergarten
A single tray activity isn’t a curriculum. Plan a progression across the year, and revisit earlier stages whenever a new material or tray type is introduced, since tool familiarity resets each time.
| Stage | Age range | Focus |
|---|---|---|
| Stage 1 | Toddler years | Open scooping and pouring, no tracing expected |
| Stage 2 | Early preschool | Simple line and shape tracing, texture exploration |
| Stage 3 | Preschool | Letter and number tracing with sandpaper-letter correspondence |
| Stage 4 | Pre-kindergarten to kindergarten | Word and number sequence formation, self-correction with reference cards |
These stages follow the general developmental progression used in Montessori practical life planning rather than a fixed age cutoff, so use them as a guide and adjust based on each child’s actual readiness. If you’re planning a broader classroom rotation around this sequence, our kinetic sand activity ideas for learning and play can help fill in supporting stations between tray sessions.
Hygiene, Dust Control, and Keeping Tray Sand Usable Over Time
A tray that’s dusty, musty, or contaminated stops teaching anything useful, and it becomes a hygiene problem fast in a shared classroom.
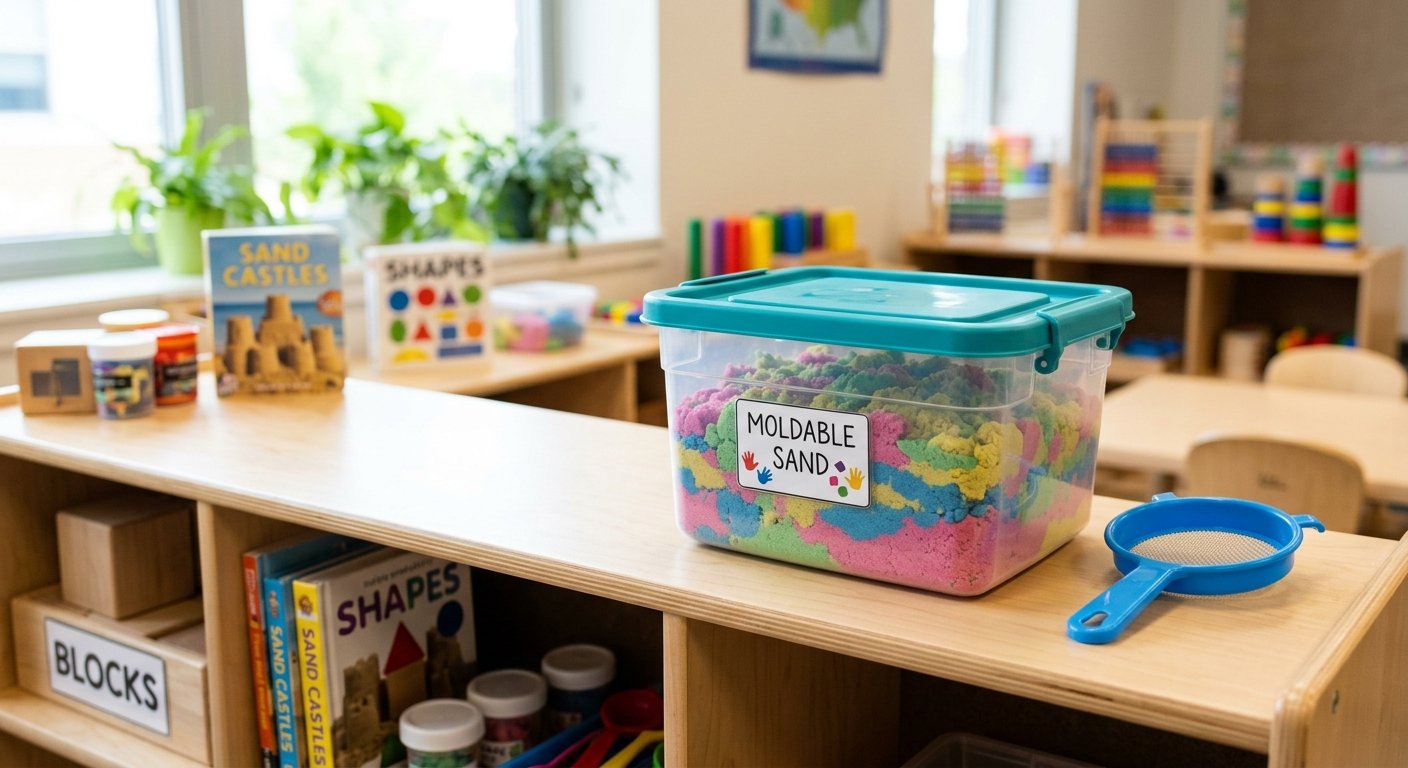
- Cover trays or store sand in lidded bins between sessions to reduce dust settling and cross-contamination between student groups.
- Hydrophobic, glass-bead-based sand resists moisture absorption better than dry craft sand, which can go musty if it’s stored damp, a problem we cover in more detail in our guide to sand contamination from dust and cross-use.
- A quick sieve or smoothing pass between students keeps the tracing surface even for the next child.
- Watch for younger children mouthing material. Choose compositions and age guidance appropriate for the group, and never treat any sand, including moldable sand, as risk-free for children who still mouth objects.
- Odorless material is easier to monitor for spoilage, since any new smell is a clear warning sign something has gone wrong with storage.
Magic Sand is described as odorless, and the company’s Magic Sand complies with China 3C, SGS, ASTM, and other international safety standards, including the standards referenced for American and European markets. That compliance information is a useful starting point when comparing materials for repeated classroom use, though it’s still worth checking current documentation for your specific region.
Putting It Together: Build a Tray Routine That Actually Teaches Something
Start with the objective, not the material. Decide whether this session is about fine motor control, letter formation, or number sequencing, then choose tray depth, tool, and sand type to match that goal. A deep bin and dry craft sand might be fine for toddler scooping, but swap in a shallow dark tray and a line-holding sand the moment letter tracing enters the picture.
Keep a simple record of which stage each child is working at so tray activities rotate with their actual skill level, not just whatever’s on the weekly calendar. And if trays start drying out, getting dusty, or losing their ability to hold a clean trace line, that’s a material problem worth troubleshooting directly rather than working around, our sticky sand troubleshooting guide and cohesion failure explainer cover common causes.
For educators comparing moldable sand options for tray work specifically, magicsandfactory’s glass-bead-based Magic Sand formulations are worth evaluating against your classroom’s hygiene and durability needs. The company, also known as IBIZA, has 10+ years of experience, and the brand describes its glass bead specialization as the basis for the line-holding texture this kind of tray work depends on, a manufacturer-reported explanation worth weighing alongside your own classroom testing.
Frequently asked questions
What are some examples of Montessori sand letters activities?
Examples include toddlers dragging a finger to make simple lines and shapes, preschoolers tracing a single sandpaper-letter copied into the tray, and kindergarteners forming whole words or number sequences from memory and self-checking against a reference card. A stylus can replace the finger as fine motor control develops.
Can you give me some examples of Montessori activities?
Classic Montessori practical life activities include pouring and scooping rice or beans, polishing objects, sorting by size or color, buttoning and lacing frames, and texture discrimination with fabric swatches. Sand tray tracing fits into this sequence as a bridge between sensory exploration and pre-writing preparation.
What are some Montessori sensory activities?
Before sand tray work, children typically practice pouring and sorting with rice or beans, and comparing rough versus smooth textures with fabric or wood pieces. These activities build hand control and tactile discrimination, which then carry over into sand tray tracing and sandpaper letter work.